Brief Description: Flap Push Rod Hole 6: Adjust until it works
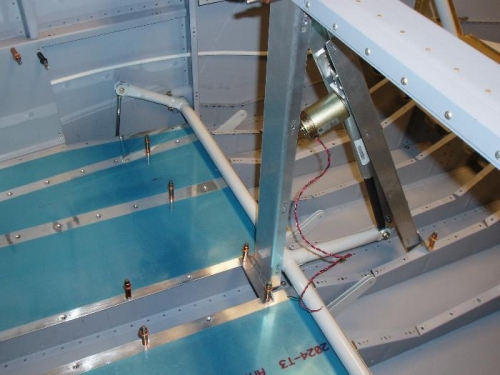
I've played with the motor and discovered that at a voltage of 11.3 volts the motor doesn't have much strength. In fact I can stop it with my hand. But get it up to 12.4 volts and it is stronger So this little flap motor is sensitive to voltage and really needs 13+ volts which I think will be strong enough to bend metal.
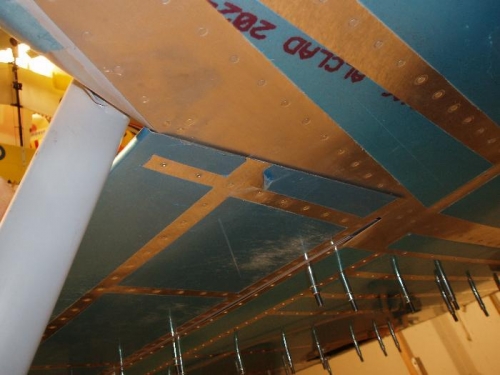
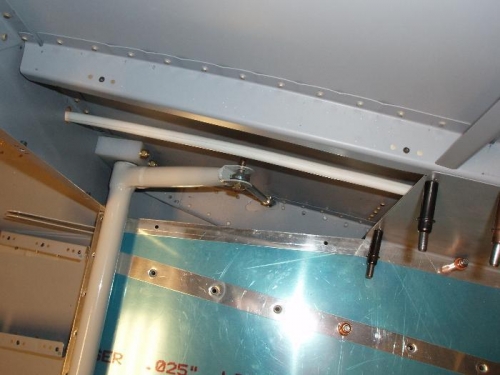
I've run the flaps up and down a bunch and adjusted the push rods. I have the push rods adjusted so the flaps are up tight and full up. I've smoothed the edges of the holes. I've got minimal gap with fuselage and the inboard edge. I'm done for now with these flaps. But I'll check out what the clearance to the fuselage should be and I may have to adjust mine a bit.
I did measure that this actuator's throw is 5 inches. It doesn't put the flaps down as far as I anticipated, but I guess far enough.
I've called Van's and ordered the wing to body fairing from the Finish Kit. They'll send them and credit the amount against my Finish Kit.