Brief Description: Install Step 1: Position and drill
After the aft deck was finally riveted I returned to the plan to see what to do next. I've been on business travel a week and forgot what I was doing. Next tasks is the cargo side walls, but there is a note that says, "Install Step Now."
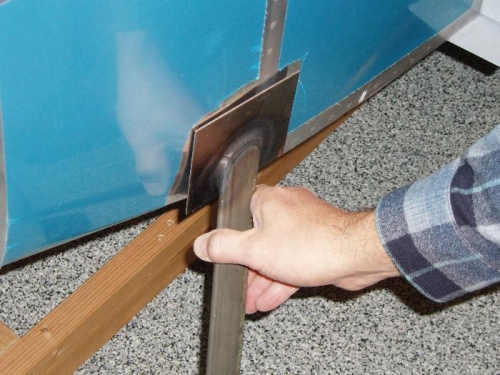
So I ordered the pilot side step and got started. It was close to flush but I needed to lengthen the aft side of the mid rib hole so I could tilt the step forward slightly to get it flush.
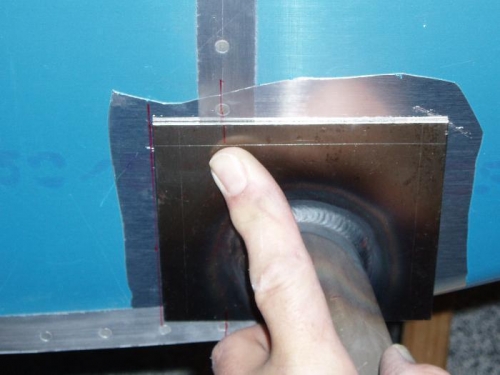
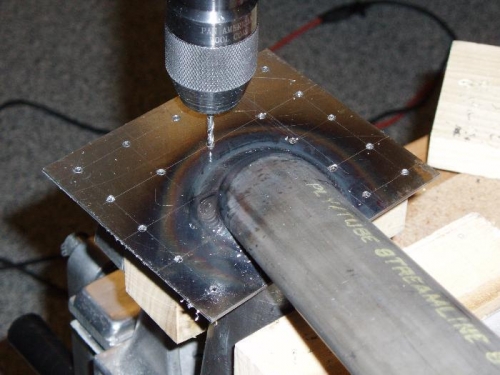
Then I located the rib which is suppose to catch one of the columns of rivets. I laid out the drill pattern and drilled the rivet holes. (I probably should have left the column over the rib undrilled for now to determine if any hit existing rivets, but I didn't).
I used a steel drill bit 3/32 and enlarged to 1/8 later.