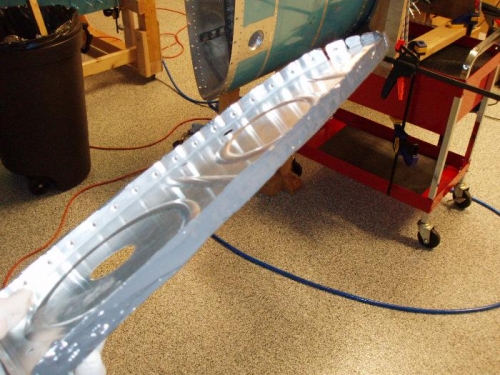
I took the 2nd most outboard rib out, coated it with Proseal, and carefully put it back into position. I then put clecoes in every hole and started riveting. The rivets seemed a little small, due to the large dimples and holes to accommodate the Proseal. The rivets had a tendancy to stand proud a bit. I put a piece of rivet tape on the head of my flush rivet set. One rivet had to be drilled out because I didn't put enough pressure on it. Key is to have the tank secured down so you can put a lot of pressure on the rivets with the rivet gun before pulling the trigger and then move the bucking bar in. This seemd to make the rivets go in and stay down flush.
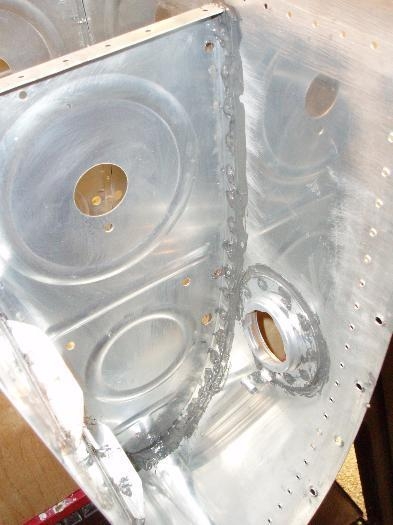
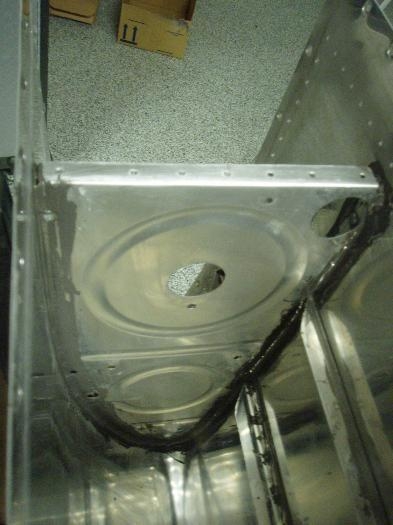
Then I put a tab of Proseal on every shop head using my metal punch, and I ran Proseal all around the edge of the rib. Seems pretty messy, but other builders are telling me, "don't skimp on the Proseal. ProSeal is key to no leaks."