Brief Description: Riveting the upper wing aft stiffener
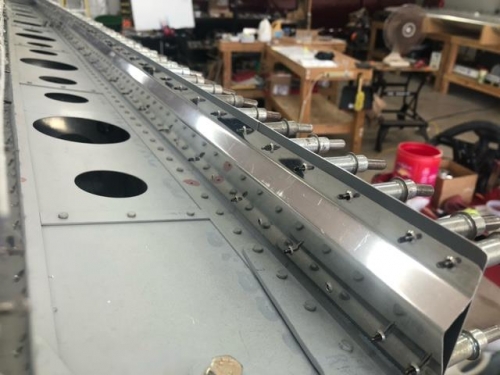
I used a process of drawing a center line on the flanges of the stiffener and then clamping it in place. Using the rivet holes in the skin I carefully matched drilled the lower line of rivets in image one. I took it off and marked matching rivet locations on the upper flange, predrilled those and after putting it back in place I match drilled the skin.
Next step was to deburr, dimple, clean up and prime the skin and the stiffiner. I clecoed it back in place and started the riveting process.
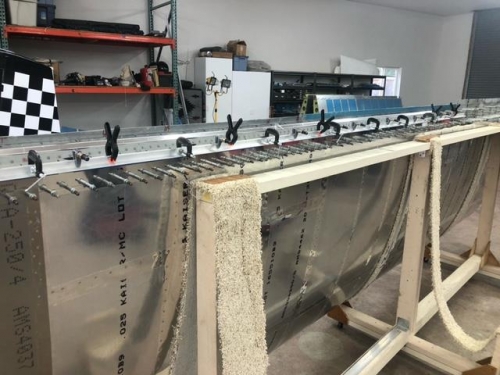
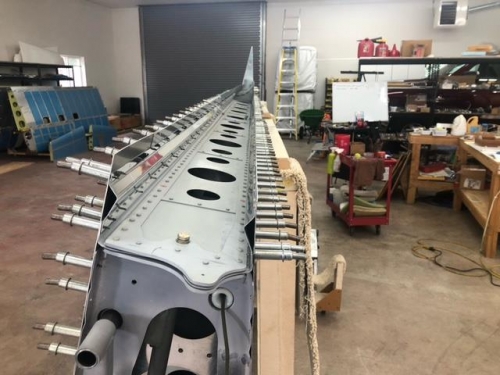
When you rivet the skin can bend and shift. I wanted a straight line for the trailing edge so I used the description located on the Bearhawk.tips site. I inserted the rivets the length of the flange and taped them in place. I clamped a long piece of angle aliuminum over the top of the rivets and then riveted. The angle kept the edge straight as I riveted. I started in the middle and jumped back and forth to ensure I wasn't pushing the metal in one direction Image three shows the end result after completing one row of rivets.