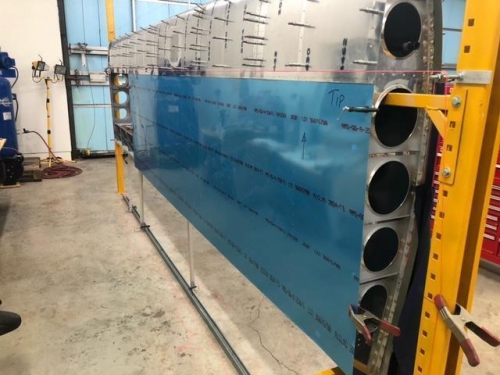
I have not been doing a great job of keeping this log up to date. So here are a few things accomplished. I received the new bottom skin (see previous entry) and cut it to size. With the help of my wife we placed it on the wing and clamped it. Next we drew lines on the inside of the skin by removing the clecos on the top skin, lifting the skin slightly and then marking the edges of the ribs and spars. My wife did the marking will I made sure the bottom skin was tight against the ribs. Then we removed the skins.
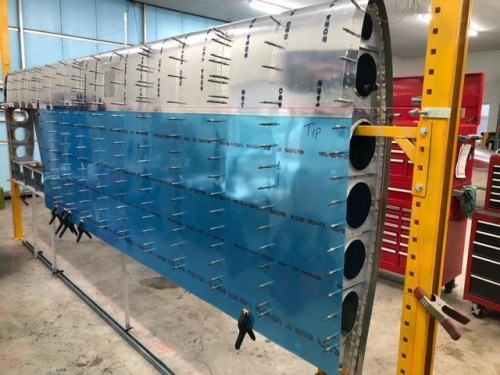
Taking the skin to the bench and laying the inside up I had a visual layout of the rib and spar positions. Using a drill jig I laid out and drilled the rivet holes (3/32) in the skin for each rib. After cleanup we took the skin back to the wing and clampled it in place. On a previous day I had marked a center line on each rib with a marker. With my wife reaching under the top skin she would position the rib so I could see the centerline mark. It was a process of me telling her a little left or right, then drilling the skin to the rib. We worked over and down to try to ensure the skin was tight and straight. It took about an hour to get them all drilled.
There are three more skins to fit to the wing and the skin needs to be drilled to the spars. Drilling the skin to the spars "locks" the wing in place. So I will measure one more time to make sure the wing is straight and true before drilling the spars.