After 24 hours I was ready to begin sanding. For some reason I lifted the canopy to check something and discovered the struts would not support the weight of the canopy. I ordered two new struts. I discovered that only one strut was bad and that was placing stress on one side of the canopy. The end result is I will need to install front canopy stops. More on this later, but for now the canopy struts will hold the canopy open.
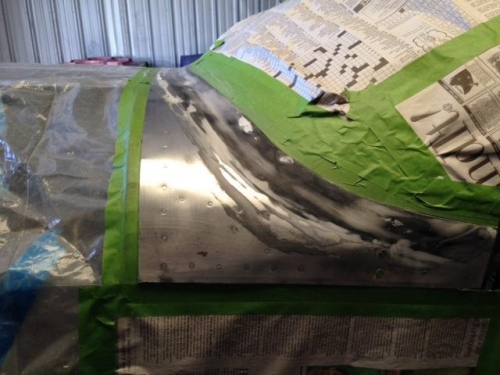
So off to sand, sand and sand some more. After the first major sanding using 80 grit I removed the vinyl tape. It had done its job allowing me to slowly reduce the top edge of the fiberglass where it joins the canopy. Sand, sand and sand again. Apply a layer of micro. Cure, sand more. Apply another layer of micro, sand more. You can see the areas where micro was applied to fill low areas and smooth the transition from fiberglass to metal.
I am finally at a stage where I can prime this area with a build up primer. I am going to use UV Smooth Prime. Image two and three show the fiberglass area ready for primer. I need to let it set for 24 hours to ensure it is completely cured.
While waiting for things to cure I also torqued all the flight control bolts in the wings. Put the wings skins on so they are ready to rivet. So, Doug Jones, if you are reading this it is time for a flight the my hangar.
EDIT: I applied a layer of UV smooth prime. I do not have a photo. It did fill the few pinholes in the fiberglass and showed one high area the needs attention. It needs to dry completely and I will work on the high areas.