Thursday was the last day of A&P school for the summer. So the update since then......I finished wiring the strobe power pack and connected the aft strobe light. Connected my bench battery and it works as advertised, at least the aft strobe.
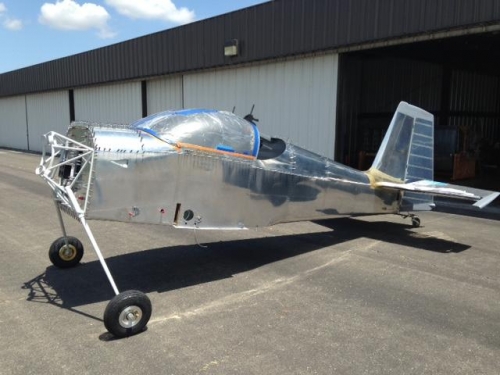
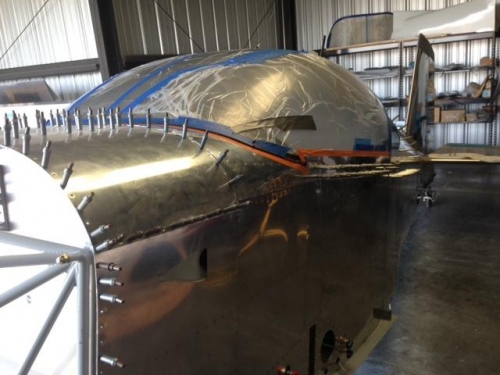
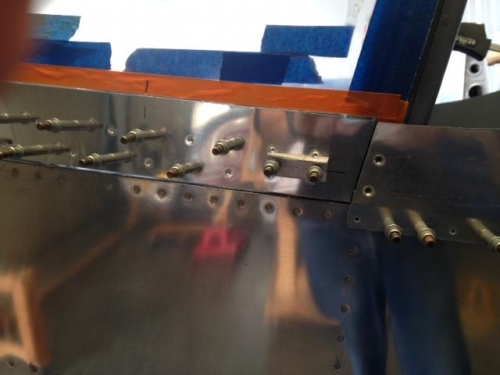
Now that I have more free time I am back to the canopy. The canopy is back on the aircraft and I have been making alignment marks and getting the masking tape in place. I am using a orange vinyl tape to define the edge of the Sikaflex. You want a nice edge on the Sikaflex, like the edge you get when you grout tile or lay down silicone. After the Sikaflex is applied and the canopy is in place, you run your finger along the edge of the aluminum to get a nice filet edge in the Sikaflex. Then you immediately pull up the edge tape. If you look at the third image you can get an idea of what I am describing.
I have marked the outside of the canopy where the side skirts attach to the canopy frame. The adhesive will be applied between the canopy frame and the canopy, and the canopy and the side skirt creating a sandwich of material. I will need to create a nice filet between the canopy frame and the canopy (on the inside) and the canopy and the side skirts (on the outside.)
I still need to lay down the vinyl tape on the inside and mask off everything else. The canopy skirts and frame are aligned at bottom of the orange tape, so I can use the bottom of the tape on the outside as a guide for laying the tape on the inside.
Tomorrow I will pull the canopy off the aircraft so I can mask off the inside of it and the aircraft. Then I can scuff up the aluminum and the plexi for the Sikaflex application.