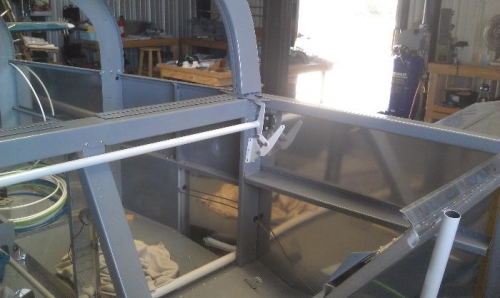
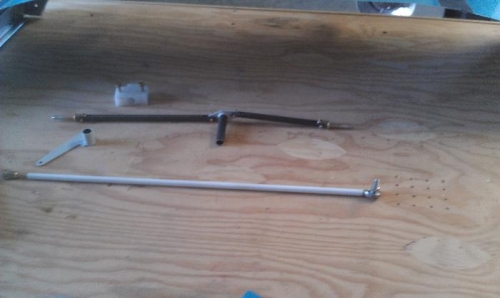
The entry is for the last two days. Continued work on the many small support parts to be completed before working on the canopy. I installed the locking mechanism. It sits behind the seats (image one) and is used to lock the canopy down. You can see a lever about the middle of the image, the white rod in image two connects the mechanism to the lever next to the pilot.
Much of today was spent fabricating the locking connecting rod and the emergency canopy release mechanism. The locking connecting rod needed to be drilled and tapped. Not a difficult task, but it does take some time.
That release mechanism was most time consuming, and I am still not happy with the results. You have to cut slots in the steel tube 7/8" deep and drill #12 holes 90 degrees offset from the slots. Using my band saw I cut the inital slots, but that cut was only about 1/32" wide. One side of the tube needs 1/16" slots and the other side needed 1/8" slots. The only solution I had was filing the slots to the correct wide. It took a long time to file those slots. There are still a few areas that need some attention, so tomorrow I will work on them again.