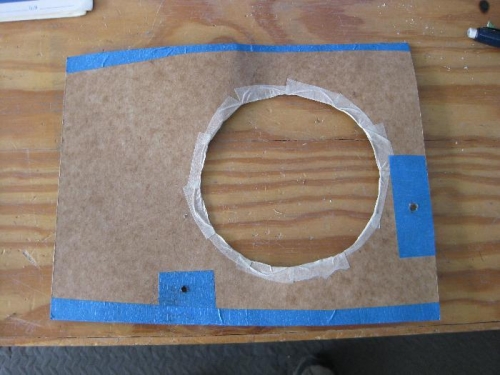
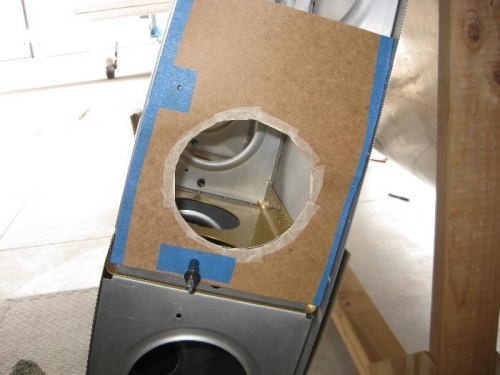
Today I worked on the conduit for the wiring in each wing. It took a lot longer than I anticipated, but I am working with quick build wings. I have saved a lot of time not having to build 90% of the wings. Vans suggests placing a 3/4" hole in the wing ribs to run a conduit to protect the electrical wiring. I started by making a template of the rib area where the hole would be located. In image one you can see the template, the hole on the right side lines up with a machine hole, and the second hole is the place to mark. Image two shows it in use.
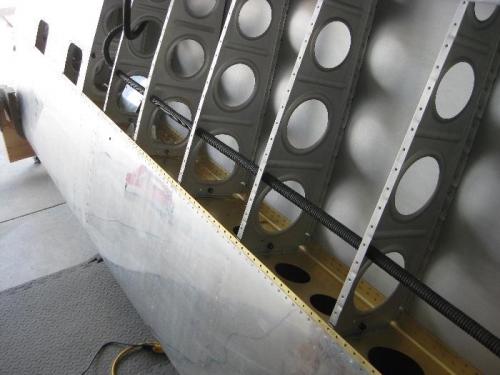
The drilling took much longer than I thought, and I am still not done. Most of the ribs were easy to get to as one of the bottom skins is not riveted on (see image 3.) That area went pretty fast. In the top left corner of image 3 you can see two access holes with the covers removed. I could only get the air drill in there and my stepper drill bit has a 1/2" shank. I could not get a larger drill inside, so I have been searching for a 3/8" shank stepper drill bit. Finally found one at the end of the day.
The other access area issue is at root end of the wing. There are three closely spaced ribs that need to be drilled. I finally found a used drill bit long enough to reach the nine inches I need to get through all three ribs. Tomorrow I will find out if it will work.
After drilling what I could drill I pulled the conduit through the completed holes.