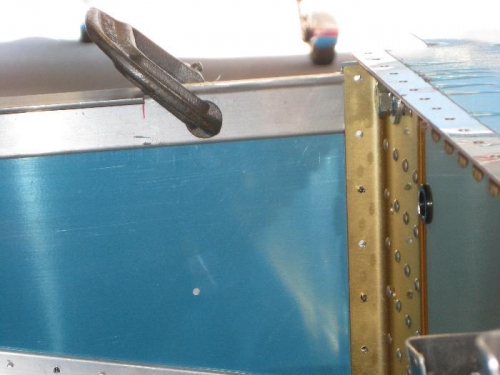
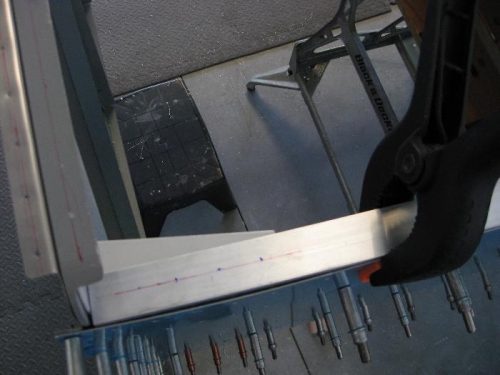
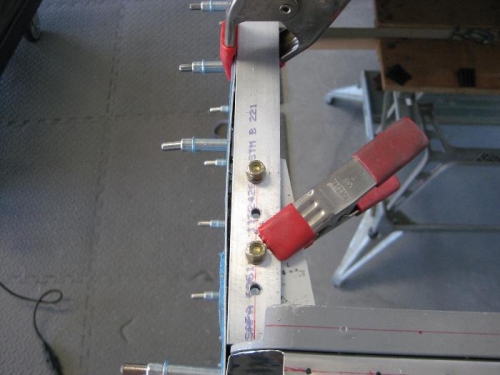
On to step two. The longeron butts up against the edge of the center section F-704. This looks like a very weak link in this process. Wait a little, it gets stronger and better. After checking the alignment and ensuring the longeron was 1/8" above the side skin, I started on getting ready to drill the bolt holes. These bolt holes attach the lower longeron to the W-603 flange. For those that do not have the plans in front of them, the W-603 (left and right) are already riveted to the firewall. There are two more attaching points at the top of the firewall (W-60X as in I do not remember the number.) If you look carefully at image 2 and 3 you can see a small sliver of the W-603 sticking out below the F-717 longeron. There are four bolts (AN 3-5A) that attach the longeron to the W-603. After drawing a center line on the longeron, I went through a process of drilling ever increasing holes until the bolt fit.