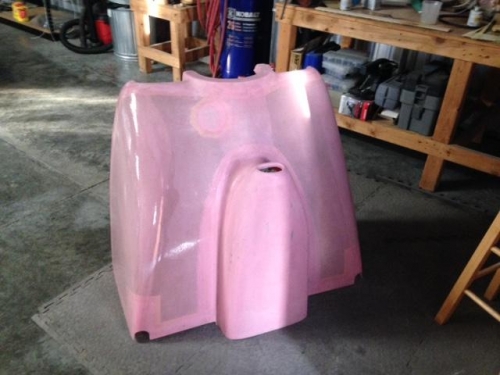
Worked at filling the pin holes and craters on the bottom cowling which is much larger than the top cowling. The process is pretty simple in implementation but, due to the size of the cowling, taking a lot of time. I mix up a small amount of epoxy and let it set just a few minutes. I am using fast hardener due to the cool weather we have been experiencing so it can't sit too long. After a minute or two I pour about a quarter size amount of the epoxy on cowling and spread it with a sharp squeegee. The intent is to lay down a very thin coating of expoy and force it into the pin holes and depressions in the cowling. A small amount of epoxy goes a long way. Because the epoxy will run I have been doing a small area at a time. For example I will set the cowling with one side up and apply epoxy there, let it set up, then change the cowling position. This eliminates any chances of runs developing.
I let this cure over night and then block sand the cowl with 180 grit removing most of the epoxy. The top cowling took three "coats" of this kind of application to get good coverage of the pin holes without adding a lot of weight to the cowl.
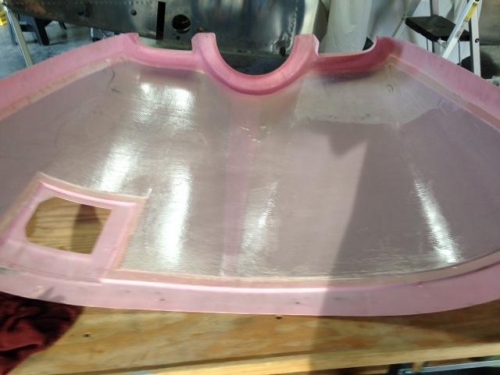
In image one and two you can see the bottom cowling after an application. In the morning I will spend about two hours sanding it down to get ready for another coat. Vans recommends sealing the inside of the cowlings. So I use any excess epoxy to seal the inside. In image three you can see the inside surface of the top cowling. I still have a small section in the upper right corner to finish. I won't sand this down, just prime and paint with high heat paint