Brief Description: Sikaflex and the rear canopy - 01
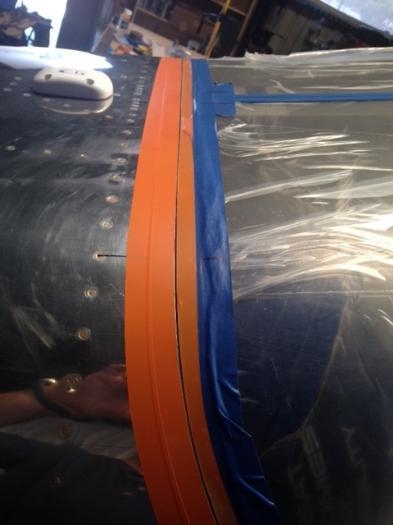
The process of adhering the rear canopy is just like doing the front canopy. I went back through the installation steps to make sure I did not forget anything. Which means installing one more time to make sure. I trimmed away any material that would be difficult to reach after the canopy was installation. For example the protective plastic on the inside of the canopy but over the support bar. You can see the grey support bar in image two (it is grey.) Once the canopy was on I knew I wouldn't get that material out, so I removed it ahead of time.
Sikaflex application requires an activator (wait 10 minutes), a primer (wait 30 minutes) and then the adhesive. I completed those steps just as two friends showed up to help lift and place the canopy. Jim and Roger assisted during the next steps. I would not have been able to do this without their assistance.
After placing a bead on the roll bar I spread the adhesive over the plexi and aluminum. I spread the adhesive by laying down a bead and then used a large wooden tongue depressor to spread it like peanut butter.
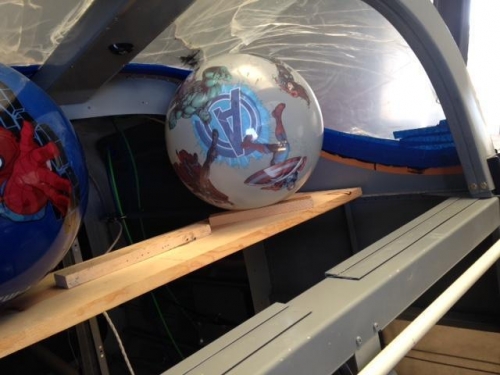
Roger and I held the aft canopy while Jim helped us get it aligned with the marks I had placed on the fuselage. Once aligned we sat the leading edge down on top of the roll bar. As we were all busy no photos were taken. But you can see the results in image two. Image three shows the balls inplace applying pressure from the inside.