After mounting the canopy with Sikaflex the front edge is glassed to provide additionaly strength and a smooth transition. Here is the process I used, although I did not take a lot of photos along the way.
I covered the canopy leading edge with green painter's tape and then a layer of 10 mil pipe tape. I wanted a very strong cover that would stand up to the sanding that would be required. The pipe tape worked very well.
I used 12 oz, 9 oz and 6 oz fiberglass cloth and cut seven strips of fiberglass starting at a width of 3/4" and working up to a width of 2 1/4", increasing by 1/4" for each subsequent strip. This gave me the depth and width of material needed to form a smooth transition from plexiglass to the aluminum. I cut each strip sufficiently long enough to reach across the aircraft so there would not be a seem to worry about.
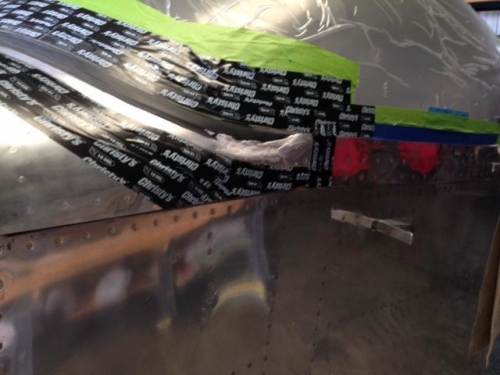
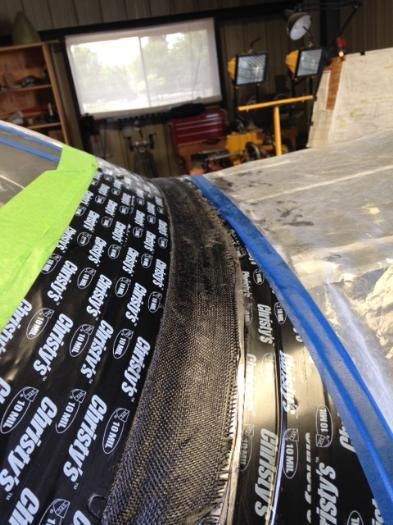
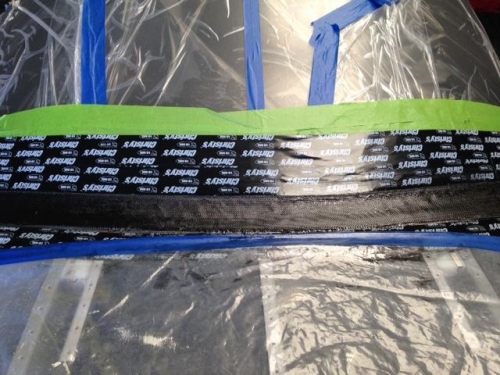
I had already used some epoxy with microballons to lay down a base layer around the transition from the vertical ears toward the horizontal skin. See image one. This area was going to be the most trouble so I did some base work to make the work easier. After this cured and was rough sanded I started the fiberglass layup. Some folks have complained about seeing light through the white fiberglass so I mixed in a black dye with the epoxy. I cover the strips with epoxy at the same time and squeezed out the excess. Starting with the 3/4" strip I completed the seven layers one after the other. I spent several minutes working out air bubbles. Image two and three are after the layup was completed. After curing but before the sanding began I layed down a strip of vinyl tape at the top edge to further protect the canopy (no photo.)