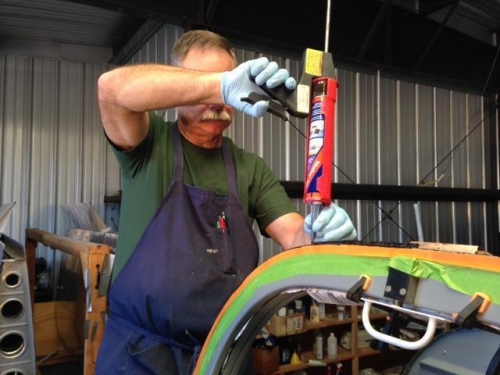
The next step is to apply the Sikaflex 295. I put it only on the canopy frame. The material is pretty easy to use and squeeze out. I cut a V in the application tube and used a chaulking gun. I laid a bead down on the canopy frame, but not on the canopy itself. Starting at the top I slowly worked around the aircraft and then the side skirts.
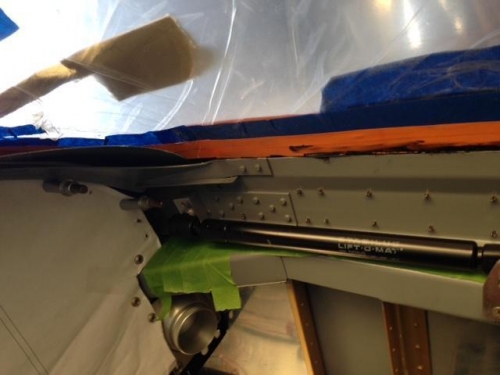
The comes the canopy placement. My wife and I were busy handling the canopy so no pictures of this part. I had cut a wood board to act as a spacer on the aft portion of the canopy. It ensured we set the canopy down in the right place referenced to front and back. With center lines marked on the canopy, canopy frame and wood board we were able to lower the canopy down (aft first) to just about exactly where we wanted. Some slight adjustments were made and then I clamped the aft portion to the canopy frame. Next was putting the side skirts on and placing a cleco in every hole. This process squeezed just a little bit of Sikaflex up between the canopy, the side skirt and on the inside canopy frame. Just what I wanted.
I walked around the aircraft checking each edge and using my finger to create a nice filet around the canopy. Extra time was spent getting the "ears" down flush to the canopy. As the filet was finished we pulled the tape off the outside of the aircraft. This left a nice straight line of Sikaflex around the aircraft.