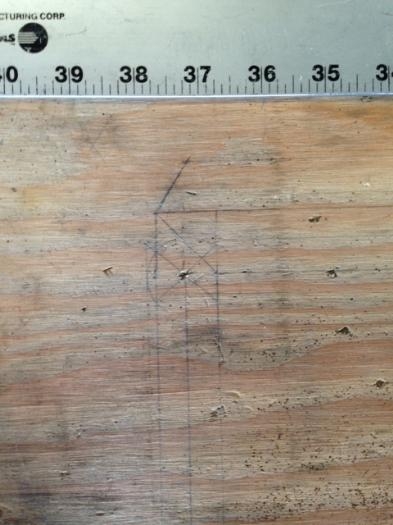
I was worried about getting the engine mount on the firewall correctly. Turned out to be a non-event. First step was to mark the six bolt locations from the engine mount on to the top of my workbench. This allowed me to get accurate measurements from the mount. I compared the engine mount measurements to the firewall locations and was surprised to see they were really close. Not at all what I had read on other builder sites.
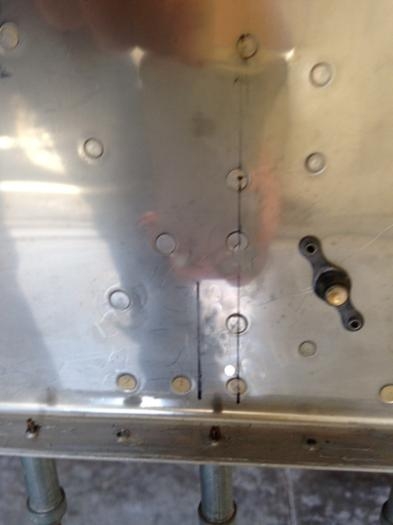
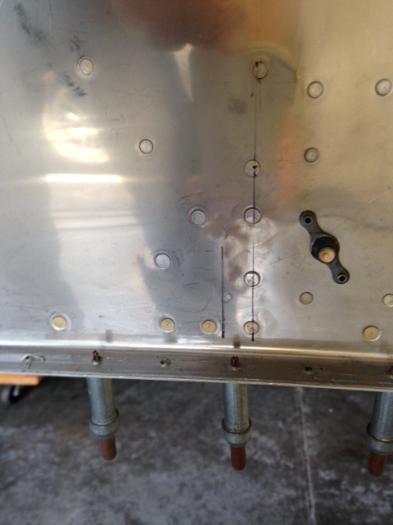
Using that information I marked a crosshair on the firewall for the four outer bolt holes. Vans has prepunched the firewall stainless steel, but they were off slightly. Or the engine mount was off slightly. My biggest concern was the two inner bolts at the bottom of the firewall. There is less of a margin of error in those two locations. I measured out from the angle on the inside of the firewall half a bolt head width, reasoning that as long as I was on or near the line I had clearance. You can see in image two and three the rivet line on the angle and my black line. In image three you can see a drill mark just to the right of the line.
I drilled the top two bolt holes 1/4" (finished size is 3/8") and put the mount back on the firewall. I used two 1/4" to secure the top of the mount and using duct tape I secured the rest as best I could. Then using a 3/8" bit I marked the fireware where the two inner bolts would go. Pulled the mount of the aircraft and checked alignment. Everything was good to go.