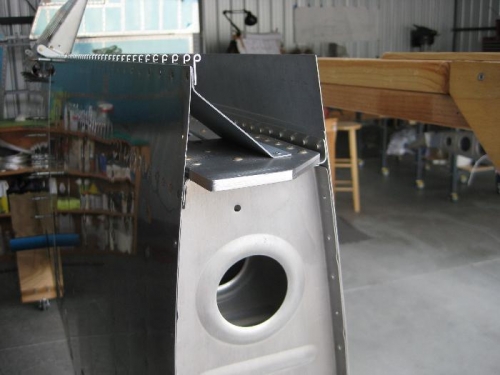
Over the last two days I have been playing catch up on working on the plane. Yesterday I worked on getting the wings ready to install them on the airplane. During that work I discovered that Vans had riveted the wing skins in an area that called for plate nuts and screws. This is the area that holds the wing fairing to the wing and covers the gap between the wing and the fuselage. When I went to the plans I discovered what appears to be an error. One place calls for ten screws and another calls for eight. Not really a big deal, but I want it to be correct. So I decided to hold off on drilling out the rivets until I could talk to Vans. As work in this area was stopped I worked on a few smaller tasks; assemblying the F-665 pushrod for the flight controls and fabricating the two flap pushrods. I still need to tap the ends of the pushrods.
Last night I decided I was going to drill out ten rivets, not eight. Fortunately, my good friend Doug Jones decided to fly his very nice RV-6 up to help out. First thing I did was dive under his wing to see how his fairing was installed. It confirmed the ten rivet idea. After spending time discussing Doug's RV-6, life and a lot of other stuff; we went to work. (I was going to say wasting time, but spending time with a friend is never a waste.). Doug (who has a lot of experience) went to work drilling out rivets. He drilled out 20 rivets faster than I could have done three, and they were perfect. No oversized holes. I need him around to do more work.
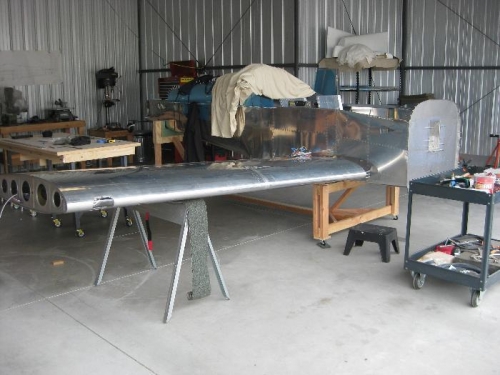
We slid the first wing in place and discovered the aft spar was hitting the fuselage and prventing the forward the spar to slide all the way into the aircraft. We pulled it back out and figured out that Vans did not trim the aft spar on the QB wings. I thought they had. So we quickly checked the plans, marked the spars on both wings and trimmed them to size. We slid the wing back into place and it fit like a glove. No pounding, no extra pressure; it just fit. The drift pins I created just about slid into pl