
|

|
|
|
Rob's REBVAIR Project
|
Date: 8-13-2012
|
Number of Hours: 100.00
|
Manual Reference:
|
Brief Description: Engine Mount - part 1
|
|
Though it's been well over a year since the last post, there has been a steady trickle of work on the plane in the background. What happened was, as I began to consider the panel I would be flying behind, I decided I would get my instrument rating to get some first-hand experience on what I might consider 'critical' equipment in the panel. So it took me about 8 months to get the rating, and it was well worth it. Between that, an a recent EAA SportAir workshop, I have pretty much nailed down the panel components...but that's another story.
Here you can see some shots of the motor mount for the corvair engine I will be using. It's know as a 'bed' mount, and was obviously inspired by the ones William Wynne offers for several types of aircraft. William also verified the CG calculations I proposed to properly position the engine in front of the firewall. Too close, and you have to add a lot of useless ballast to the front of the aircraft; to far forward, and you have to redesign the mount completely to account for the longer members, shallower angles, etc... You get the picture. The corvair weighs about as much as a Lycoming O-235, and fortunately, the Murphy manual gave me the desired positioning of an O-235 in front of the firewall. The rest was just high-school physics. I started with a wood jig, mounted to the firewall. You have to make sure everything is square to the airplane (firewall might be off) and that you have your specified aircraft thrust line and engine thrust line matched up. Lots of measuring and projecting lines in space. Once all the stiffening members are in place, the jig is screwed to the table.
|
|
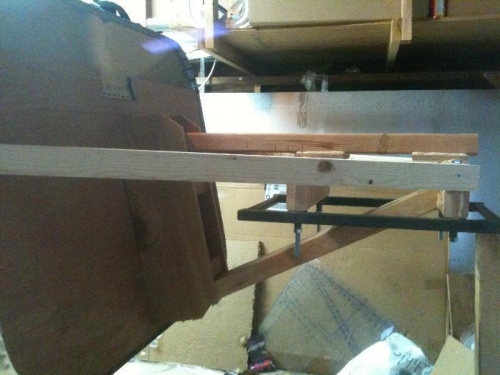
Jig Beginings
|
|
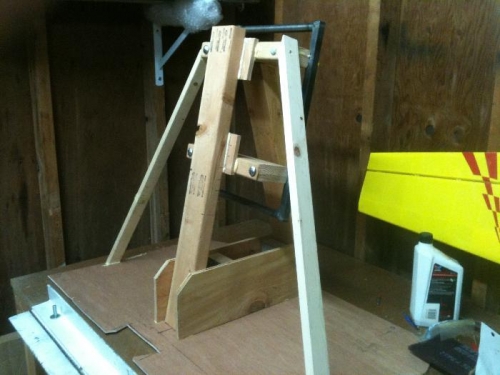
transferred to table top
|
|
|
|
|
|
|
|
|
Copyright © 2001-2024 Matronics. All Rights Reserved.
|