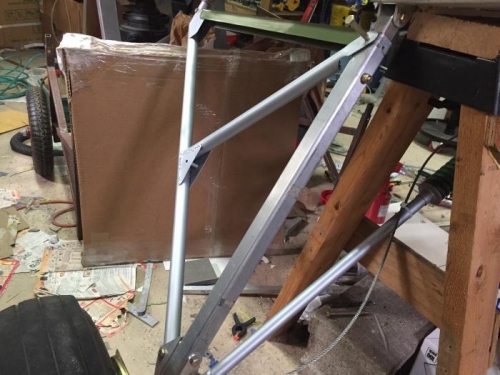
With the gear structral members complete, I decided to complete the fairing as well. At annual inspection, I knew I would want to inspect all the welds in this area, so the fairing had to be easily removed. Screws and nutplates were used judiciously (to save weight).
In image 1, attentive Rebel builders will notice that I avoided the forward aluminum 'tie' bracket by having the fairing brace attach with the AN5 bolt that holds the main gear onto the Mohr fitting....that same bolt secures the tab from the secondary tube. There's beauty in having one bolt perform several functions. Plus it saves weight. Same goes for 1/4" footpeg bolt hole as a place to secure the fairing...it's already there, may as well use it to hold the fairing on too.
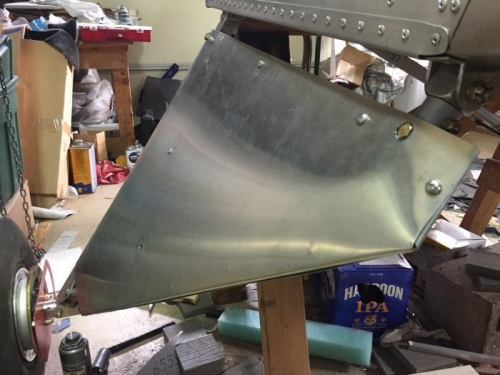
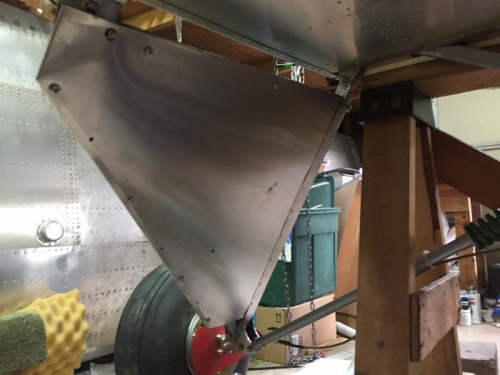
The fairing itself is made of two peices of 0.016" sheet. This is because I didn't have enough material for one continuous 'wraparound' fairing. Aesthetically, it doesn't matter because the joint is inboard and out of sight. And it was easier to get the leading edge bent on a smaller piece, rather than trying to set it in the middle of a very long piece.
Leaving it all unpainted for the moment....need to leave some stuff for rainy days at the hangar.