The the joint at the joggle is sanded to give the glass smooth curves to follow. Same 'sandwich' procedure as before except I decided to use only one layer of glass on this side: any pressure on the bulkhead (baggage side) will put this side in tension (not compression) so I don't think I'll need more than one layer of glass for that. Plus it keeps the weight down.
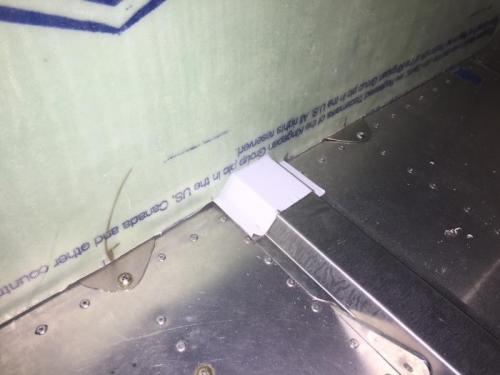
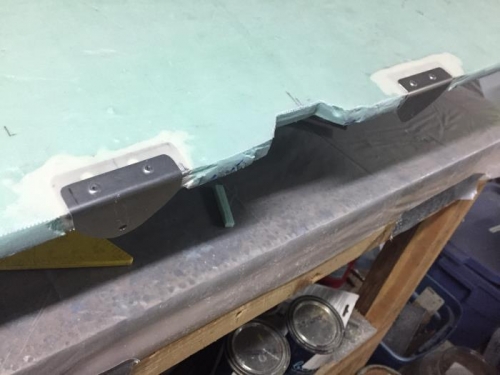
Affixing the bulkhead to the fuselage is through four attach points: Two in the top corners, and two near the floor. In a moment of enlightenment several years ago, I decided to install a number of nutplates around the floor of the plane, anticipating the need to securely attach things like baggage nets, or tie-downs. Two of these came in handy for this bulkhead: Image 1 shows the bulkhead attached to the floor. Image 2 shows how I added micro and glass to strengthen the area where the aluminum plate attaches to the bulkhead. I made an error and had to cut off the original flanges, but was able to use the embedded aluminum as a base to rivet new flanges.
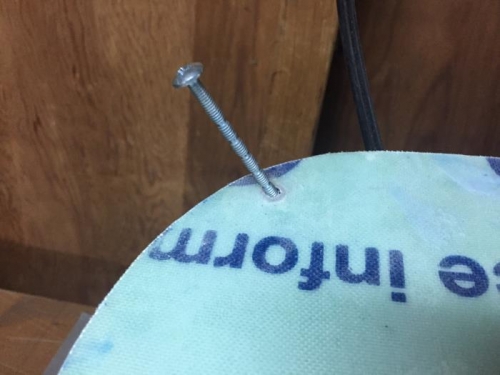
In the top corners, I drilled out an oversized hole and filled with micro and an aluminum bushing. This allows tightening of the screws without crushing the somewhat delicate foam and glass.