
|

|
|
|
Rob's REBVAIR Project
|
Date: 5-7-2017
|
Number of Hours: 4.00
|
Manual Reference:
|
Brief Description: Wheel Fairing Attach Bracket Part 1
|
|
Wheel pants are obviously not critical to initial flight testing, and I would have really preferred to leave them as a project while flying the airplane. However, fabrication and design is much more fun in an upright position, so I decided to tackle this now while the wheels and gear legs are still on my bench.
These are obvious copies of what you'd find on a skyhawk ($80/bracket!). Like those in the venerable high-wing, these are also steel, but half the thickness at 1/16". Steel is not as brittle as aluminum and given what these fairings might encounter on the ground, you want something fairly tolerant of vibration and impact. 1/8" would have obviously been better, but I couldn't bring myself to add that much weight. Time will tell whether I made the right decision.
The crappy part about this is that it MUST be attached to inboard part of the axle BEFORE the axle is bolted to the gear leg. This makes it a potential replacement nightmare. An argument could be made to cut the small material 'bridge' on one side of the round hole, so the bracket could be installed without the aforementioned dissassembly (and this is in fact how it's done on the skyhawk). The problem is that in their infinite wisdom, the designers made the 4-bolt boss on the axle so compact, that removing the bridge would also remove 2 of the 4 bolt holes. This would then necessitate a 2-piece bracket design. (As I write this, I can see that a diagonal cut-out would leave 3 of the 4 bolt holes intact...hopefully I'll read this if this bracket ever needs replacing).
|
|

paper template
|
|
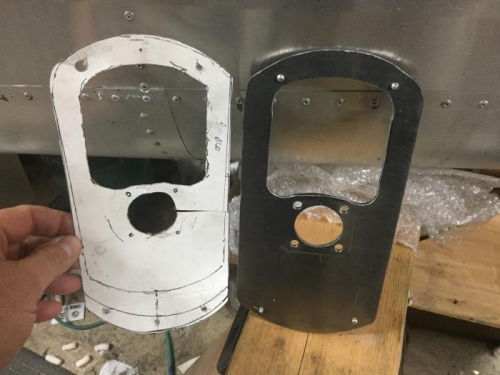
4130 steel brackets
|
|
|
|
|
|
|
|
|
Copyright © 2001-2024 Matronics. All Rights Reserved.
|