
|

|
|
|
Rob's REBVAIR Project
|
Date: 9-14-2015
|
Number of Hours: 2.00
|
Manual Reference:
|
Brief Description: Cowl Inlet Rings: Part 4
|
|
Just like painting, the majority of all fiberglass and epoxy work is prep work. The nose-bowl needs a fair bit dressing up to get ready for this. Number one was the enlarging of the inlets to accept the aluminum rings. It took a fair bit of studying Mike Bullock's pictures, but I determined that the opening for the ring is actually the outside diameter (OD) of the ring. I initially thought the openings were cut to the ID of the rings, so the 'front' edge would be bonded to the nose-bowl perimeter. It turns out that this makes for a very poor fit. With the openings exactly the OD, the front surface of the ring sits on the prep surface (in this case a plywod base with wax paper) Image 1, and the nose-bowl inlet sits in the same plane as the front edge of the ring.
Once the flox, microballoons and epoxy paste is prepared, I scooped it into a small zip-lock parts bag (left over from all the crap I've bought from various suppliers) and sealed it. Cut a small corner off the edge, and I had a 'cake-decorating' bag ready to cleanly apply the mixture to the inlet ring junction.
This was then plopped in small portions around the perimeter of the ring, and then I used a stick to 'vibrate' and push the epoxy to try and make sure it made it into the groove on the ring.
After forcing it into the side of the ring, I used a rounded stick to smooth out the epoxy mixture, keeping in mind that this area is not visible without disassembling the cowl!
|
|
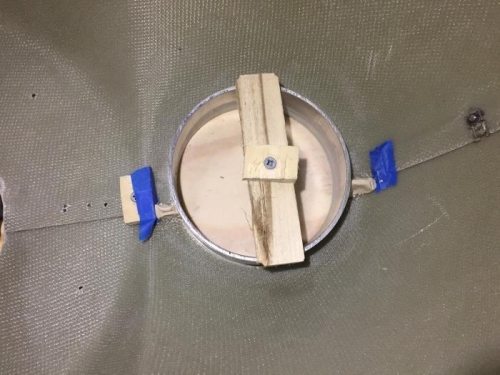
Final prep before epoxy application
|
|
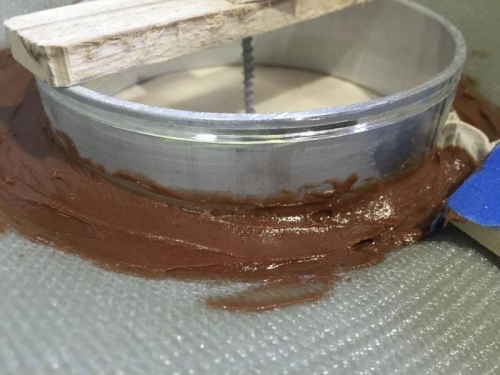
epoxy-flox fillet smoothed out
|
|
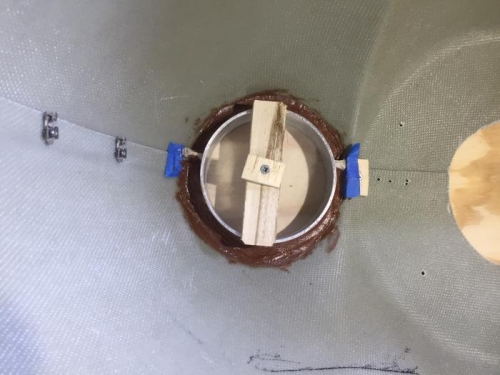
letting it set up
|
|
|
|
|
|
|
|
|
Copyright © 2001-2024 Matronics. All Rights Reserved.
|