
|

|
|
|
Rob's REBVAIR Project
|
Date: 3-20-2011
|
Number of Hours: 10.00
|
Manual Reference:
|
Brief Description: elevator pushrod exit holes and fairings
|
|
As mentioned earlier, I couldn't realistically do the left side push-rod exits until the elevator was complete and mounted (albeit temporarily). You can see the elevator horn in Image 1, and using the right side elevator push-rod hole as a starting point, I was actually surprized to get to the finished hole size fairly quickly with only a few iterations of test-fitting the push-rod for clearance, removing the push-rod, then filing the opening a bit....tedious but it pays to go slow.
In Image 2, you can see the fairing in place. Given the experience with the right side, this was one of the few instances where I only had to make it once. Yay. In this shot, you can also see how the fairing is aligned with the airflow, not the hole itself.
Image 3 shows the clearance of the push-rod relative to the opening and the fairing itself. This explains the asymmetric exposure of the surrounding rivet pattern. If you refer back to the bare hole in Image 1, you can see full rivet pattern.
|
|
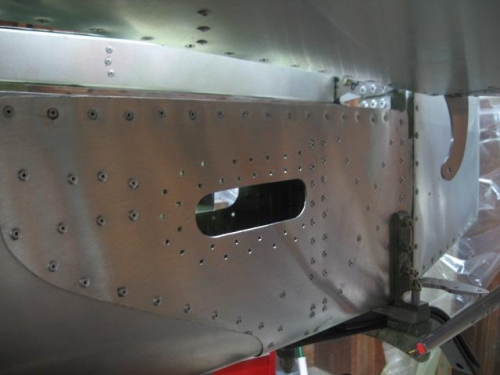
left hole
|
|
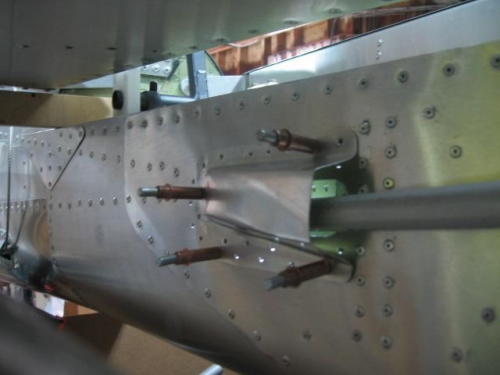
with fairing
|
|
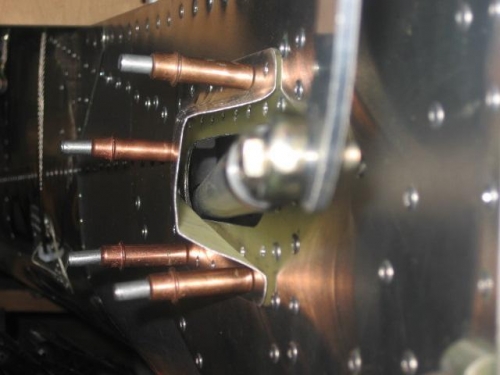
fairing clearance
|
|
|
|
|
|
|
|
|
Copyright © 2001-2024 Matronics. All Rights Reserved.
|