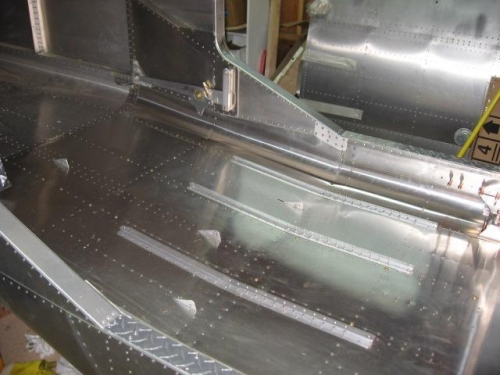
Final riveting the floor was satisfying after so many hours of pre-planning and anticipating my future needs. I am hopeful I have thought of most everything. Image 1 shows the four floor-mounted seat-belt attach fittings. Most will recognize the forward-center fitting. I've added two between the rails for a crotch-strap seat-belt attach for each of the front seats. I've also added a second center-mounted floor seat-belt attach fitting for the rear passenger.
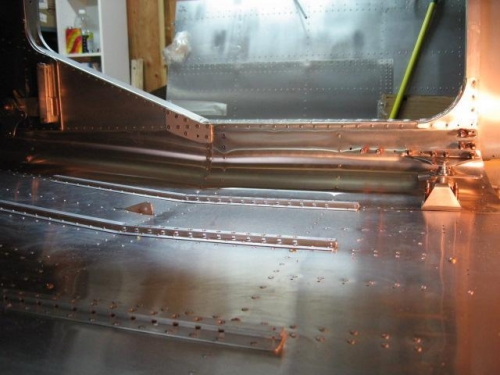
In image 2, if you follow the rivet lines between the two front seat rails, you'll notice some AN3 screws in the floor (gold color heads). These engage click-bond nutplates I installed on bulkheads and channels in selected areas. Also in image 2 you can see the left side seat belt attach fitting, backed with a AN4 click bond nutplate and 1/4" hole. I have not yet final installed the aileron torque tube assembly as I am still fabricating torque-tubes, and still need to get to the panel. The less I have in the way on the floor, the easier the access will be, and the less wear-and-tear these components will see as I stumble around inside the cabin.
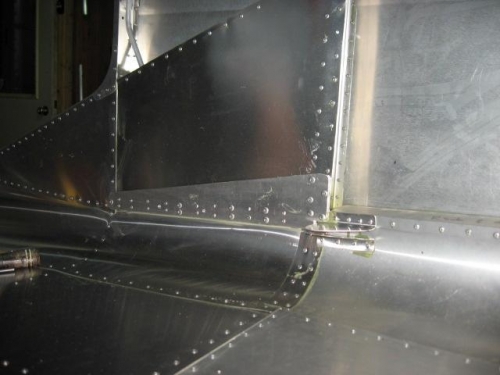
In image 3, I've shown the right rear side with seat belt attach bracket (long thin 0.125" 6061 piece that spans both bulkheads). Here again are two 1/4" holes with AN4 click bond nutplates behind them. Also see are the right side pulley brackets (sans pulley) for the rudder cables.