
|

|
|
|
Steve's CH750 Cruzer (N750SB)
|
Date: 8-16-2018
|
Number of Hours: 4.00
|
Manual Reference:
|
Brief Description: Complete ADAHRS install
|
|
Today I pretty much completed the ADAHRS install and calibration. I started out by powering up the ADAHRS and following the procedure to calibrate the magnetometers. This involved moving the unit in all three axies and doing some lazy 8s with it. After that was done, I ran the pitot and static tubes to it and a tee off the static to the transponder head. Next, I attached and rough-ran the cables for the OAT probe, GPS antenna, and ADSB-IN antenna. The OAT probe will go inside the pilot side wing, the GPS antenna fits nicely between the top window and gussett, giving it a clear view of the sky. The ADSB-IN antenna, I'm going to play around with once I get airborne to find a good location, so I left it loose. Attaching the ADAHRS to its mounting holes under the pilot seat proved more difficult than I originally thought. For now, I only bolted 2 of the 4 mounting locations since I may need to remove it to re-do the magnetometer calibration once I have the plane outside the building. To help prevent chafing, I ran some wire loom and secured the cable runs. I also put loom around the lightening holes under the seat. Finally, with everything hooked up, I ran the accelerometer calibration process to level the ADAHRS.
|
|
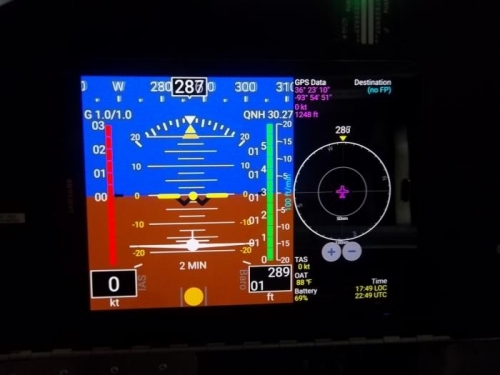
ADAHRS Calibrated
|
|
|
|
|
|
|
|
|
Copyright © 2001-2024 Matronics. All Rights Reserved.
|