
|

|
|
|
Sean's RV 7 Project
|
Date: 3-13-2016
|
Number of Hours: 2.00
|
Manual Reference:
|
Brief Description: Canopy Trimming
|
|
It's been a while since I've worked on the canopy. Since John and I have purchased our hangar several months ago, much of my "extra" time has been dedicated to getting things moved and setup out there. And honestly....the canopy has been one of those parts of the build that has demotivated me with all the iterations of on and off the plane to get the fit adjusted. For a time, I've had the canopy fairly close to size.
My girlfriend, Tracey, has been supportive of my aircraft endeavor since we met a few years ago. I know it is rare to have someone so important in your life take an interest in this type of thing. I am blessed to have Tracey not only encourage me, but on this day, jump in and help!
I've attached some graph paper to the froward canopy frame so I have reference marks in trying to get symmetry on the from plexi trim. Tracey and I took measurements on every odd numbered cleco to the plexi, symmetrical from the centerline. This revealed a difference of up to half an inch in some areas. We took the canopy off about six times, as I used the belt sander to make the adjustments. Eventually, we got the front cut within 1/32" of symmetry along the front. For the most part, the canopy lies very nicely on the skin across the front and as it drops to the sides. The left drop still needs a little more work, as it has some spring tension outward at the joggle.
We spent several hours working away at this and got a great result. Having Tracey there REALLY did help. Not only with the labor, but her fun and positive attitude carried me through the task at hand. I now have energy and optimism to finish this particular part of the build. Thanks Tracy (aka The Inspector)!!! haha.
|
|
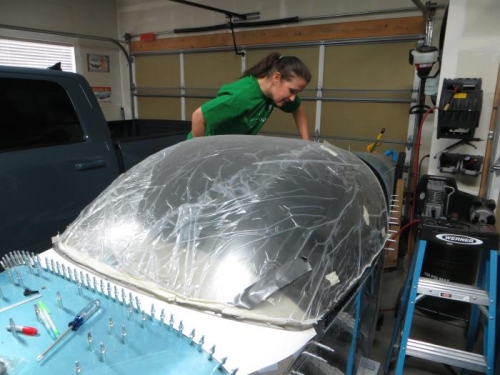
Tracey carefully locating the aft centerline.
|
|
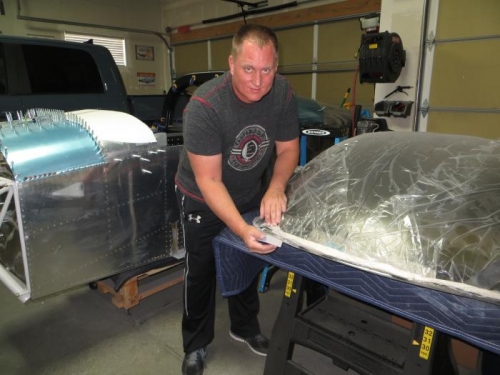
Brutus (me) hand sanding after the belt sander was used.
|
|
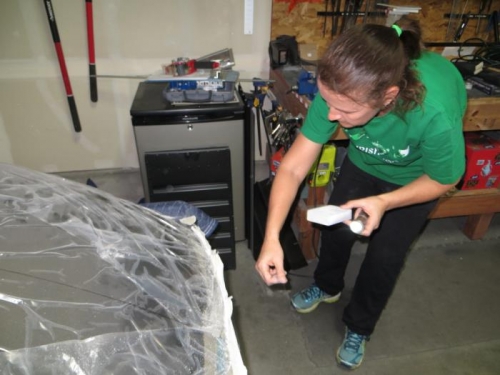
Tracey catching a few light scratches with her flashlight and sanding block in hand!
|
|
|
|
|
|
|
|
|
Copyright © 2001-2024 Matronics. All Rights Reserved.
|