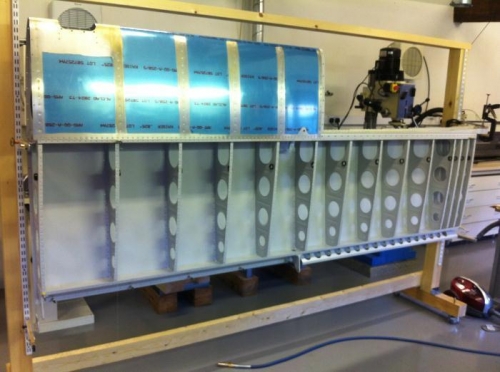
Brief Description: Rivetting Port Bottom Wing Skin 2.
All the bottom skins were installed by one person, it takes time but is relatively simple. The skins are clecoed on, the inside skin first. Then the bottom five rivets are installed starting from the middle of each skin and working outwards and upwards. Then the rivet heads were painted with primer. All the bottom skins were installed without a helper; it takes time but is relatively simple. The skins are clecoed on, the inside skin first. Then the bottom horizontal rivets are installed first then five vertical rivets are installed starting from the middle of each skin and working outwards and upwards. Then the rivet heads were painted with primer.
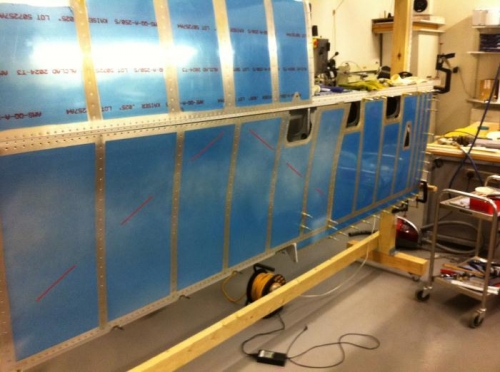
Next the inner skin is clecoed on again working upwards and outwards.
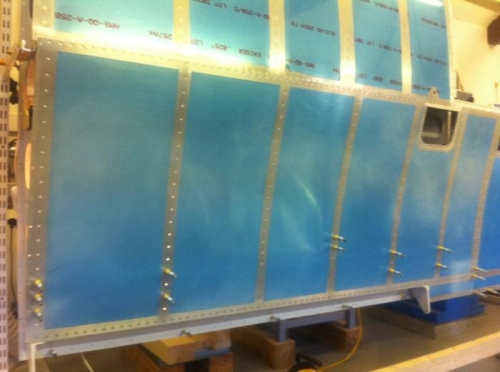
The KEY to the outer skin is starting with the fourth rib in from the tip. Working upwards and outwards using the bucking bar jigs is slow though the finish is excellent. Indeed all the holes including the very last matched up without any struggle. Thanks Vans!
Duralac was used on all the spar flanges and outer ribs as well as the joint in the middle. The Duralac seems to get sucked in and produces a nice seal.
Finally, the inspection hatch platenuts were installed. Contrary to the instruction only #6 and no #8 were used.