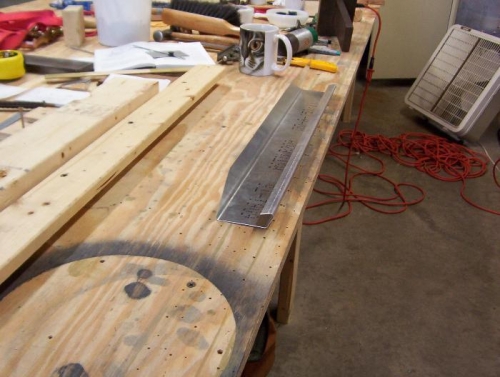
Brief Description: Finish forming trim tab & add hinge
I figure if I layout lines in the correct location and line up the lines the part should come out right. I put a line along the short flange of the trim tab then transfered that to the hinge by using .025" spacers. I then transfere the line from the hinge to the long flange of the trim tab. One the line was established I layed out the rivet pattern 10mm from the ends and 40mm spacing. Then drill the 3/32" pilot holes in the long flange.
Next it was closing the part and lining up the lines. When I lined up the ends they wern't flush so I measured to a hole near the center of the rivet line and layed that out on the short flange. I used the vice with soft maple jaws to hole the part closed and gave it alittle twist to get the hole center to line up on the center hole. Drilled the first hole in the center and added a cleco. Left, right, left, right, etc. . . to the ends. Just moved the part along and closed the vice till everything lined up.
After everything was clecoed I squashed the part gently with the leaf brake to straighten it out.
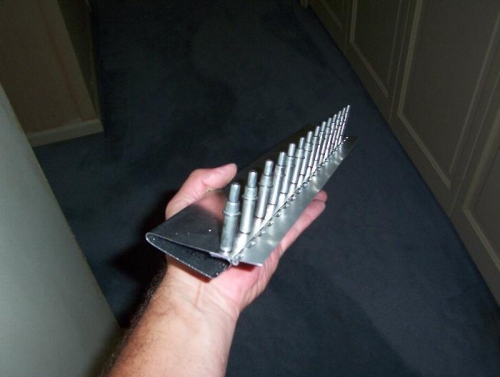
Added the hinge and now I have a trim tab for the Left Aileron.