
|

|
|
|
REX'S WEB SITE
|
Date: 9-4-2016
|
Number of Hours: 4.00
|
Manual Reference:
|
Brief Description:
|
|
Having set aside the misaligned elevator parts, I changed course and worked on the rudder. The stiffeners were already match drilled, so it was time to dimple stiffeners and skins. Using my Cleaveland Tool Main Squeeze I could dimple the stiffeners almost as fast as a pneumatic squeezer, because I could use the tool resting on the bench with one hand, while the other hand advanced the part. Hadn't used the C-frame in a while, and never on .016 aluminum, so dimpled about 10 holes in a piece of scrap. The skins went very well, except I ended up with some surface scratches from the male part of the dimple die. Very disappointing, because I thought I was being very careful. Obviously not. Purely cosmetic, but a big blow to ego and craftmanship.
Backriveted the stiffeners to the skins. If only all riveting could be back riveting. Went very well, but I should have bought a larger backrivet plate. You get in a groove and forget the next rivet is not on the steel plate, and it goes into the table. Not a big deal, just adds some time. FYI, backriveting involves taping the rivets into the holes and riveting the shop head directly with the factory head on a steel plate. The instructions say Scotch tape is not effective to tape rivets. That's what I had on hand, and the rivets held no problem. The tape was a bit of a pain to remove. It tends to split at the factory head. But again, no big deal.
Clecoed skins to frame for match drilling, but had some fit issues around the R-405PP rudder horn. Decided to tackle that tomorrow...
|
|
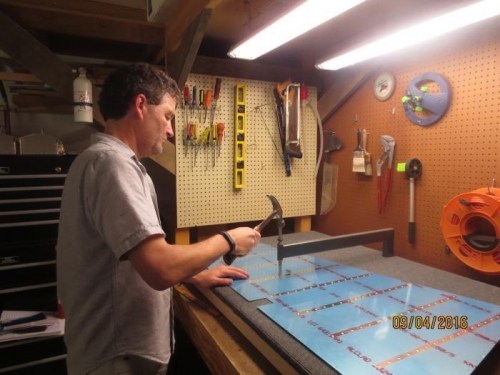
dimpling rudder skin with C-frame
|
|
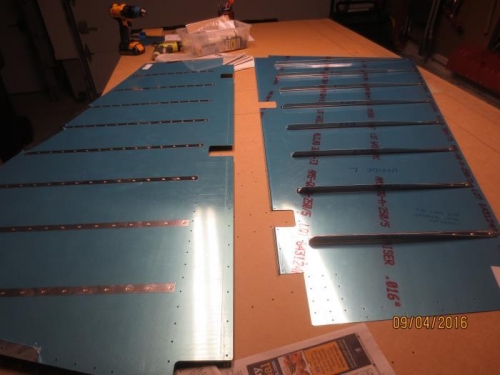
rudder stiffeners riveted
|
|
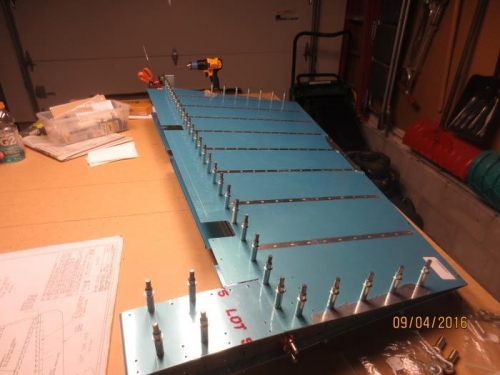
rudder skins clecoed on frame
|
|
|
|
|
|
|
|
|
Copyright © 2001-2024 Matronics. All Rights Reserved.
|