Brief Description: Fuel sender installation and right wing complete
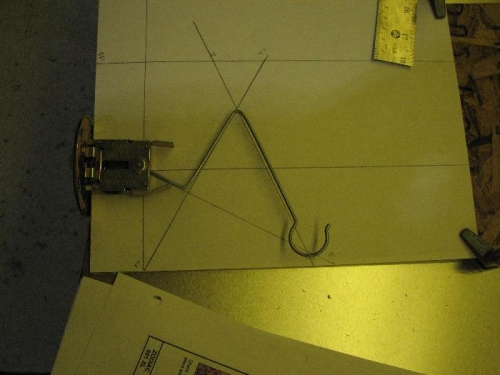
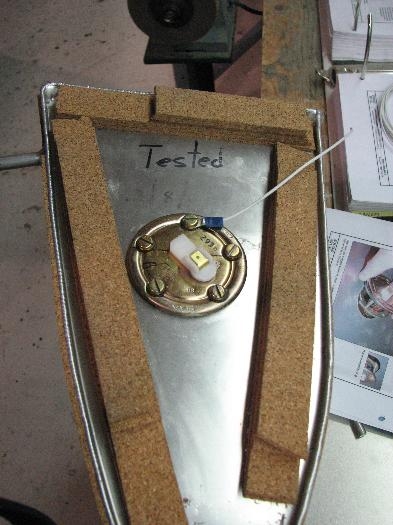
Today started with installing the fuel level sender in the right tank. The first task was to bend the sender arm to the correct geometry. Then the end of the tank was marked and drilled for the sender. I vacuumed out the tank to remove any aluminum shavings. One thing to note, DO NOT install the fuel drain until the tank is permanently in the wing otherwise you can't get the tank in place even with the outboard nose rib removed. Since the tank sealant I ordered has not been delivered, I used an aviation gasket lube instead that is designed for fuel systems and will not break down in leaded fuels. KPB OK'd its use in this location. After struggling with the sender for 1/2 an hour, I finally figured out that the rubber gasket and backing ring only go on in one position. After cleaning the gasket lube off of everything and figuring out the proper position, it went together much easier. The tank was installed in the wing and the sender ground wire was installed.
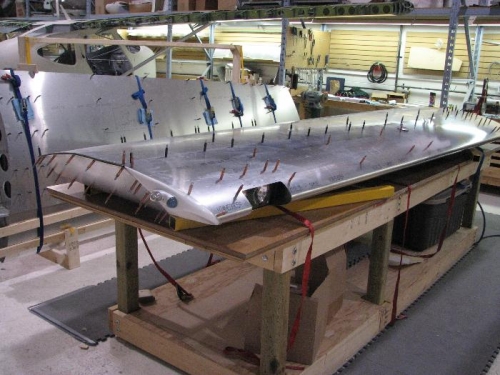
The wing was strapped shut and the rear skin riveted in place up to 7 rivets from the main spar. The nose skin is held in place with clecoes. This was done so the pre-closing inspection can be done
Time to put the completed right wing away, and move onto finishing up the left wing!