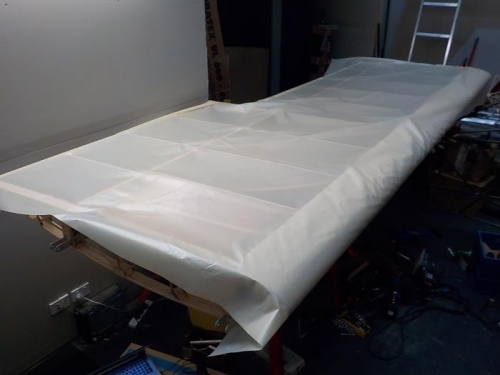
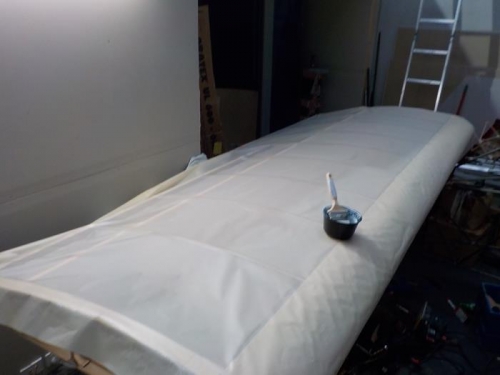
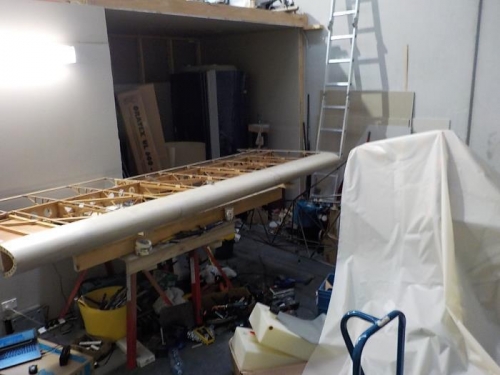
The wing covering begins and is an exciting stage of the building process. Oratex is applied to the bottom surface of the wing first and then the upper. I didn't want to see pencil lines which are normally used to mark where the fabric is to be painted with the Hotmelt glue. Once getting the fabric right on the bottom surface I marked some faint pencil lines on the outer corners just to be sure things were going to line up. After this I flipped the wing over and laid out the fabric shiny side down leaving the side that has to be painted with the glue facing upwards. The Oratex is translucent and you can see the wing ribs through it so all I needed to do was apply glue right along the rib lines as well as the leading and trailing edges. If you can imagine in pic 2, the fabric will be placed beneath the wing as it currently sits and the glue will then touch the ribs. Leaving everything overnight to dry after painting the Hotmelt on the bottom surfaces of the ribs and leading/trailing edges.