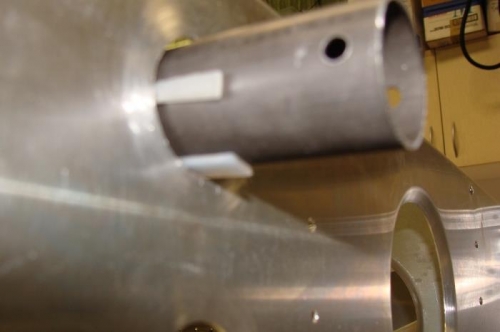
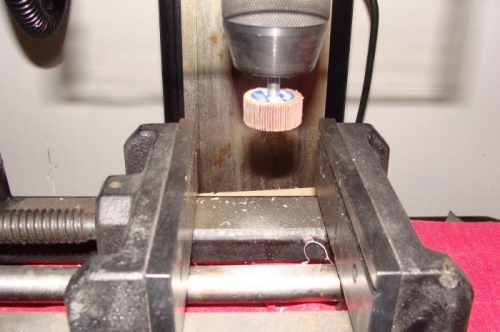
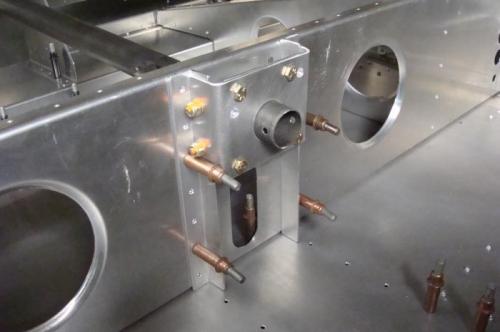
Clecoed, drilled and bolted the front 3 pieces together. Used a 1 3/8" hole saw to cut the center hole on the UHMW bearing. The hole in the aluminum pieces is 1 1/8". Clamped this in place along with the two L angles. You're supposed to insert the torque tube and keep it centered in the 1 1/4" hole where the front bearing gets attached, all the while back drilling the two L angles. No way I could just eyeball that. Since the hole the torque tube passes through in this location is 1 1/4" and the torque tube itself is 1 1/8"...that means there should be a 1/16" space all around. I had some 1/16" UHMW sheet material and I cut three small pieces, then inserted the tourque through the hole and inserted one piece on the bottom and one on each side. This supported the front bearing and L angles perfectly while I clamped it and drilled. I found the front bearing to be very tight on the torque tube so I used a 1 3/16" sanding disc set-up in the drill press to smooth that hole out...came out perfect.