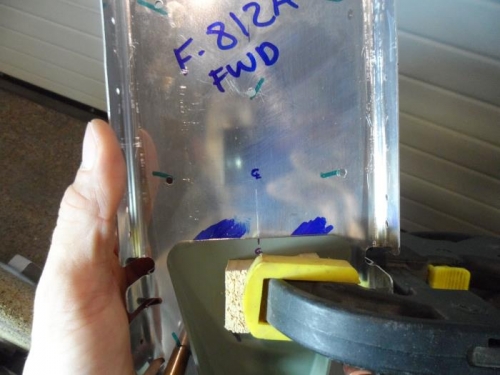
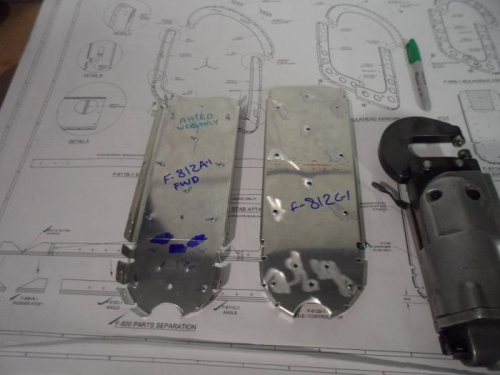
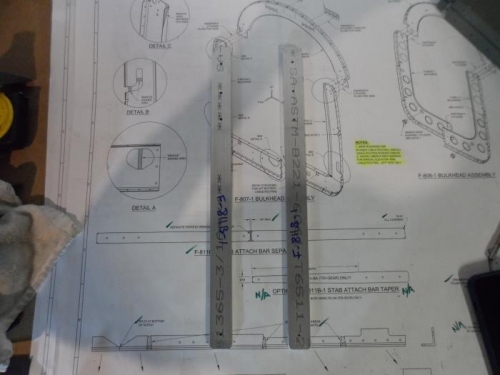
Mark the vertical position of the WD-409 Tail Spring Mounts top edge on the front side of the F-812 Bulkhead Assembly (See “Section View A-A”, DWG 73). Clamp the WD-409 Tail Spring Mount to the fwd surface of the F-812 Bulkhead Assembly. Make sure it is centered on the bulkhead and that the top edge is aligned with the vertical positioning mark made in the previous step. Match-Drill #30, the two keeper rivet Holes in the F-812 Bulkhead Assembly into the WD-409 Tail Spring Mount. Cleco as you drill each hole. With the WD-409 Tail Spring Mount still clamped in place, machine countersink #30, the two keeper rivet holes drilled in the previous step, for flush rivet heads on the aft side. Uncleco and unclamp then deburr the WD-409 Tail Spring Mount, F-812A-1 Bulkhead, and the F-812C-1 Bulkhead. Dimple countersink the #30 rivet holes common between the F-812A-1 Bulkhead and the F-812C-1 Bulkhead, for flush rivet heads on the aft side (DWG 70). Prime the WD-409 Tail Spring Weldment. Prime the F-812A-1, and F-812C-1 Bulkheads if/as desired. Rivet the F-812A-1 Bulkhead to the F-812C-1 Bulkhead at only the dimple countersunk hole locations (DWG 70). Separate the two F-811B-1 Stab Attach Bars from each other as shown in F-811B-1 Stab Attach Bar Separation diagram on DWG 70. Remove the portion of the F-811A-1 & F-811E-1 Bulkheads that is depicted in F-811A-1 & E-1 Bulkhead Trim view on DWG 70.
Clamped the Tail Spring Mount to F-812 Bulkhead Assy for match-drilling
Dimple-countersinking both bulkheads in preparation for priming
Separated the two F-811B-1 Stab Attach Bars from each other.