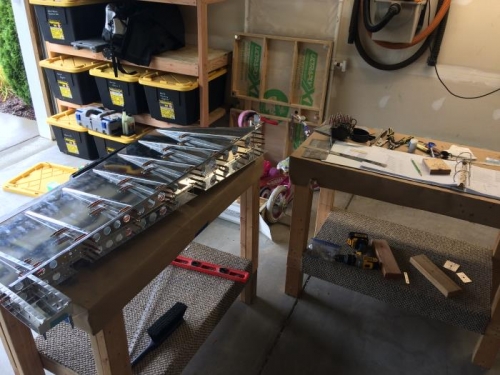
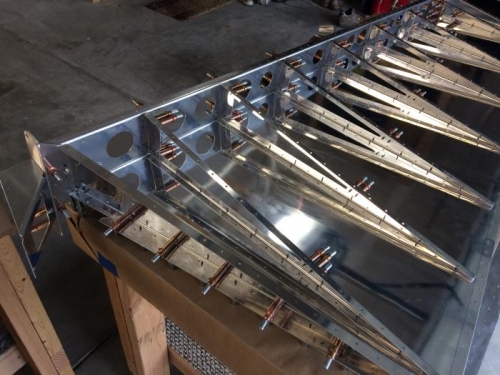
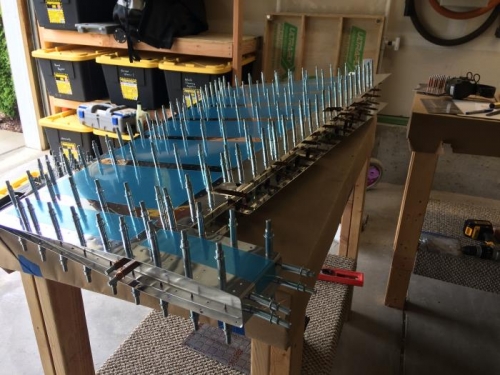
Long day. Started with the rudder pieces laid out and finished with everything cut, drilled, and deburred. Used some 1.5" aluminum angle to build a flat surface for the trainling edge riveting and constructed the lap tool as described in the plans. Saved $49 by not buying the cleveland tool. Also match drilled the aluminum angle according to the right skin trailing edge. Hopefully this will pay dividends during riveting at a later date. During fitting of the skins on the skeleton I determined the stiffeners were on the wrong side of the mounting bracket that attached to the spar. This caused some forcing of clecos both in and out of the holes. While they fit, I hope I didn't damage the skin. I couldn't see any damage, but time and vibration will tell. Really didn't have much issue with the strailing edge. I used the modified countersink and the scrap piece of wedge to get the angle right. A small amount of knife edge on some of the holes, but normal from what I understand.
All in all the instruction were followed in sequence except for the riveting since I want to prime everything at once. I also looked ahead and found more drilling after the priming would have occured. I went ahead and drill the #33 holes at the end of chapter 7 so I didn't have exposed aluminum after priming.
Tomorrow I'll scuff the rudder material and finish setting up the paint booth. With any luck I will get the rudder and vertical stabilizer in the booth, cleaned, and primed so I can start riveting after the family gets back from Michigan.