I started flying again so my time is being split between work, actual stick time and working on the RV. I've decided to complete my instrument and commercial training and also get my multi-enging and CFII ratings.
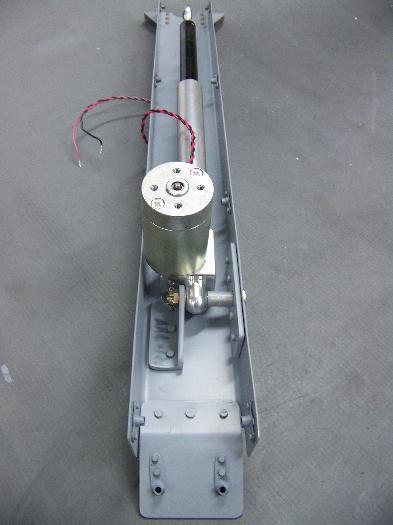
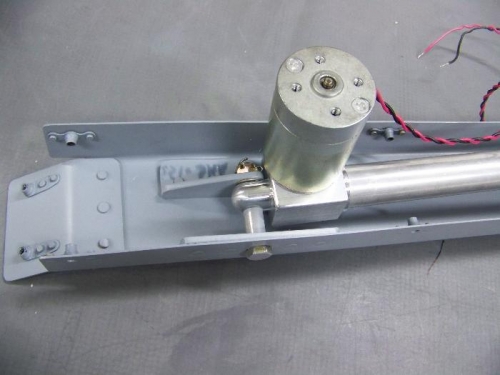
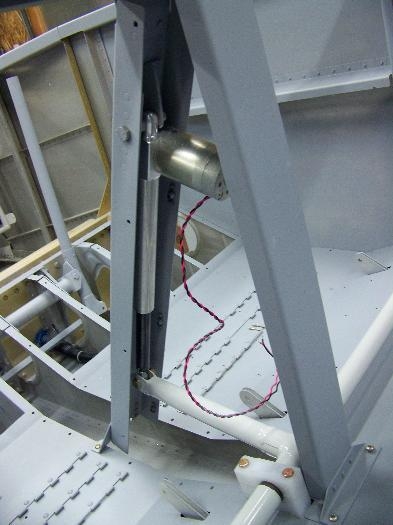
In fabricating the flap motor assembly you have to make several angled brackets, 10 nutplate assemblies, a bracket brace, spacers, and several reinforcing angles. I didn't take pictures of all these individual pieces but here are the completed assemblies. After I got the first build exactly as the plans called for, and assembled and rivetind everything together, the motor actuator arm was angled improperly to connect squarely onto the flap actuator. I ended up disassembling the spacers and the angle brackets, refabricated the spacers and brackets and ground down the top connector on the electric motor. It took about 5 hours to refabricate these pieces but now the actuator arm is not angled wrong. I talked to several other builders and they all had to do the same thing. Vans plans and drawings are not correct for this assembly.