Brief Description: Separating the Plexiglass Canopy
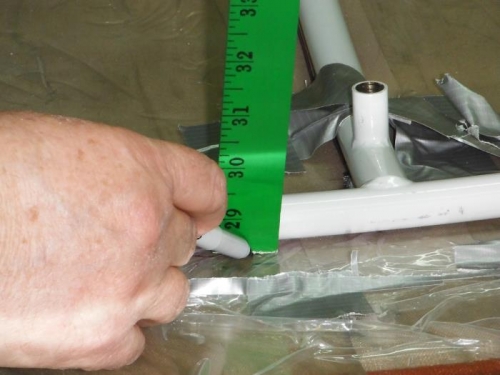
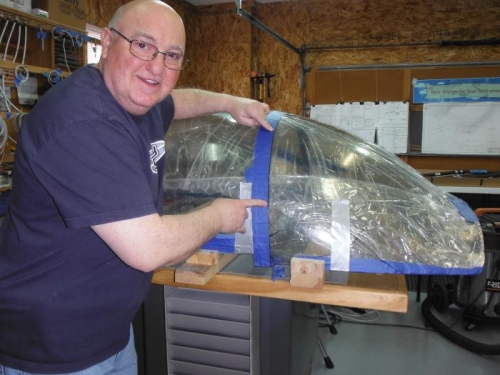
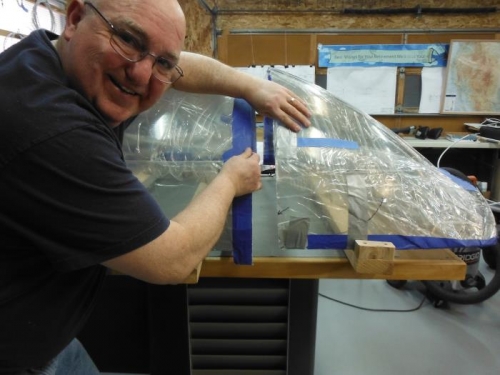
After placing the frame back into the canopy, I used C-clamps to tightly clamp the frame to the canopy along both sides and the rear making sure the canopy centerline was on the center of the frame and so the forward bow of the canopy frame fits the inside of the canopy with as few gaps as possible. Next, I marked the ‘canopy split line’ so I would have a 1/16-3/32” overhang of the most forward surface bow of the frame; dividing the bubble into the sliding canopy and the fixed windscreen. I also marked the trim line just above the canopy frame side bows to make room for the side skirts. I placed masking tape over the cut lines and remarked the tape. I then removed the frame and made the cuts, both vertically and horizontally. To make these cuts, it was necessary to make supporting blocks for the bottom of the canopy and clamp the canopy firmly in-place. I cleaned the edges of the plexiglass, sanding them smooth; placed the fame and canopy bubble back onto the fuselage and slid it all the way closed.