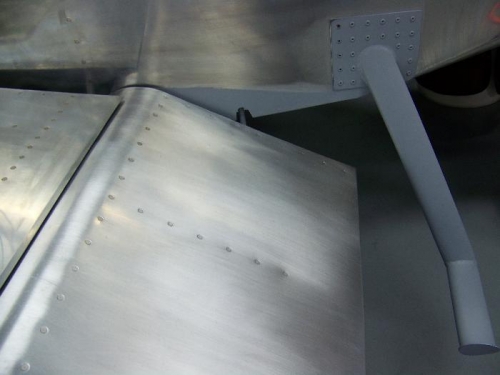
Brief Description: Flap pushrod holes from the side of the fuselage
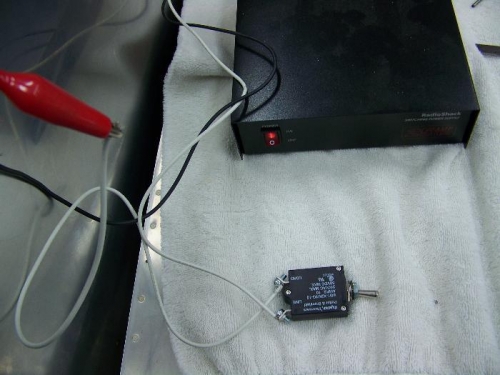
These are pictures of the flap push rod holes on the side of the fuselage. You probably notice the primer and extensive sanding marks on the 2nd picture. This was the first hole I screwed up. Not only did I drill the hole too big on the bottom, but when I was cleaning up the hole on the side, the hole cutter on my drill cuaght the side of the hole and walked all the way from the hole to the bottom of the step plate. After 20 minutes of hand sanding with # 80, #100, and #250 sandpaper and spraying two coats of primer, you can still see the cutter-rabbit tracks on the side of the fuselage. The good news is the flaps will always be retracted when someone is looking at the airplane and the flap covers all this mess up. If someone is silly enough to be looking at this when the flaps are extended at 65 knots on final, something tells me they won't even notice the rabbit tracks. The last picture is the temporary flap control-switch and 12 volt power supply I made to operate the electric flap motor while I was checking the push rod hole clearance.