Brief Description: Trim Flaps and Temporarily Install Flap Push Rods
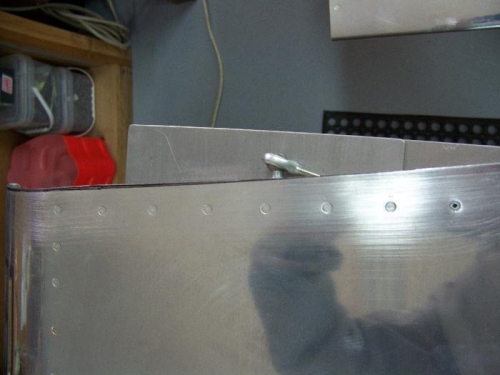
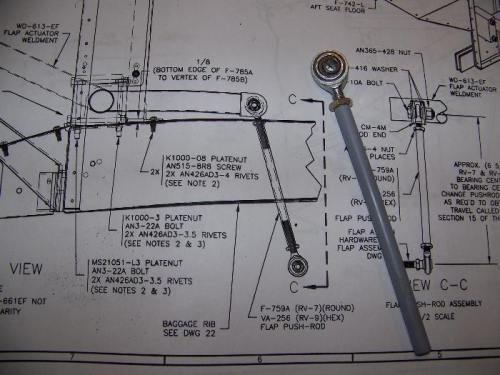
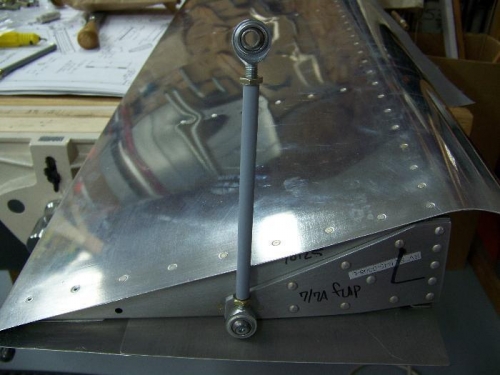
The inboard upper flap skin(s) have to be trimmed so there is approximately 1/8 inch clearance between the flap and fuselage. It took nearly an hour to get each flap piano hinge in-place and mark the flap for trimming. Trimming was done using my stationary belt sander and then I cleaned up the edges with a deburring tool and sandpaper. The second picture is the partially assembled flap push rod and the diagram on how it is installed. The last picture shows the push rod fully assembled, primed, and temporarily installed on the left flap after the upper inboard edge was trimmed for 1/8" clearance from the fuselage.
Inboard Left Flap Marked for Trimming
Flap Rod End Drawing and partially assembled push rod