I worked a couple hours each night from March 12- 14. The rudder is the most difficult assembly of the empenage, so far. It would be easier if the directions in the manual had more steps to follow. It is extremely easy to miss things like platenuts that have to be rivited to hold the rod-end bearings and the rudder horn assembly is very confusing. Also, I purchased the video tapes made by George Orndorff for empenage assembly. The tail section videotaped is for an RV-6 and it just made assembly or the RV-7 tail more confusing. My advice is don't spend the money on the tapes.
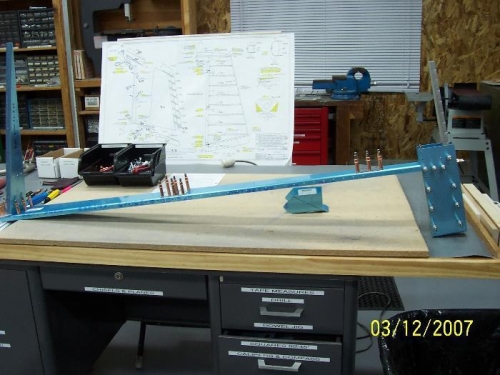
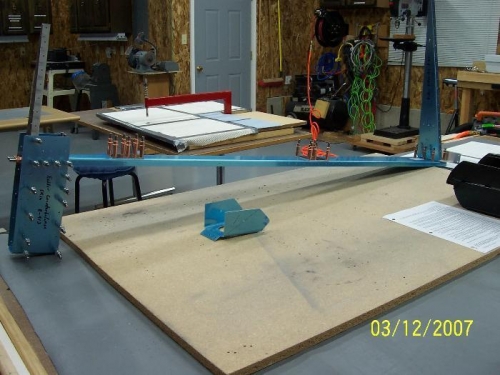
I began by began by clecoing as much of the rudder skeleton assembly together as I could because I couldn't understand how the rudder horn assembly went together. I think the manual steps are out of order.
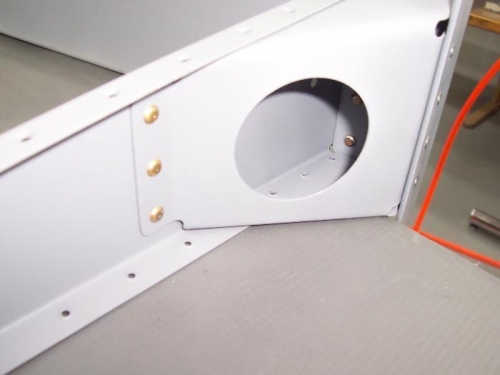
Next I fabricated the rudder horn trim pieces and cut the rudder horn bracket as per the diagram.
I deburred, primed all the rudder skeleton and drilled all the rudder horn assembly pieces and after five attempts, assembled the rudder horn. The inside rivets are nearly impossible to buck and had to use a couple blind rivets. I also didn't realize you had to rivet a platenut to hold the bottom rod-end bearing. This is no fun to install when you are riviting the skin on so make sure you do it now.
Internal rudder skeleton clecoed for the first fit