Brief Description: Installing the Nose Gear Wheel Pant (cont.)
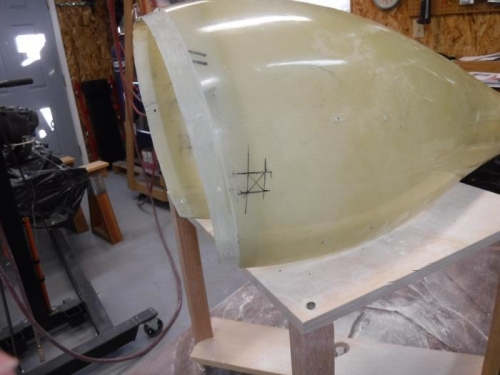
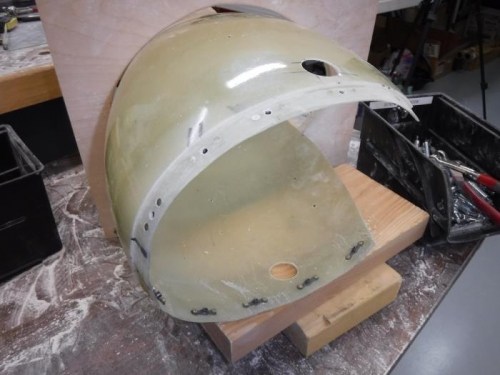
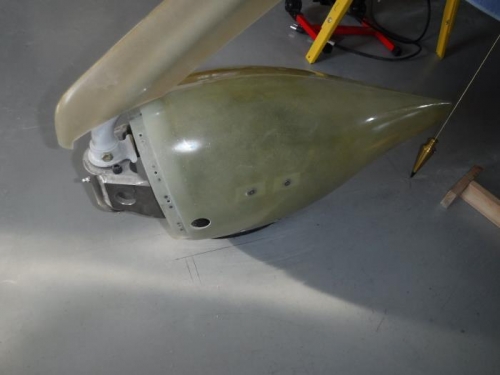
After the forward and aft wheel pants were mated properly, I drilled and clecoed the fairing halves at the specified locations in preparation for nutplates which get installed later. The last steps in installing the wheel pants is to lay-up some fiberglass reinforcing strips on the inside of the aft wheel pant where they connect to the support brackets and to attach nutplates for all the screws that hold the assemblies together. The screw holes have to dimpled with a dimpling bit and reinforcing spacers are inserted. I also had to mark and cut a hole in the side of the wheel pant for a tow bar to fit into. Getting these markings are not an easy task because it’s difficult to “eyeball” the height and aft measurements. The curvature on the inside and outside of the wheel pant is curved on one side and tapered more on the outside. The result was the tow bar hole on the outside will have to be patched and redrilled farther aft. The same thing happened to my friend building the -8A…same gear assembly, same fairings…and crappy outdated instructions from Van’s for these models of airplanes; go figure.