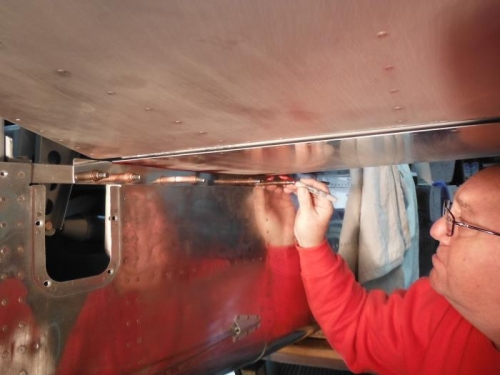
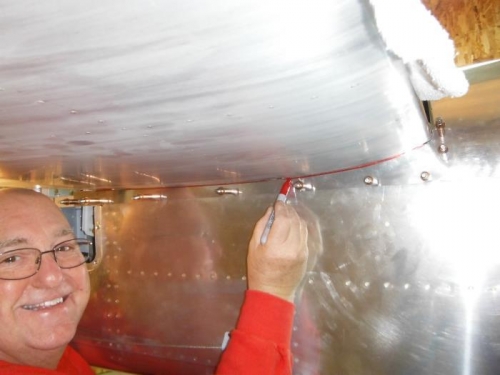
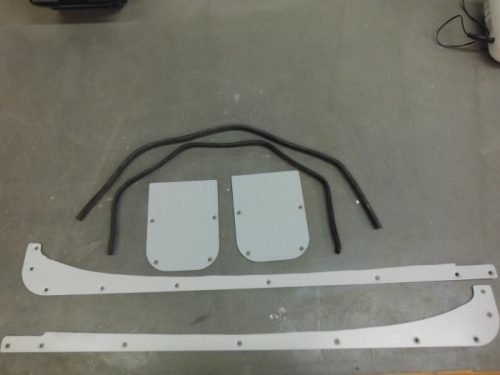
After the fiberglass fairing was fitted as best as I could get it, I drilled holes to match the nutplate-screw-holes. Next, I fitted the empennage gap cover by marking the cover and cutting to fit around the bottom of the horizontal stabilizer. I decided to use the rubber seals because there were some excess gaps under the stabilizer where rivets into the frame deformed the inboard edge of the stabilizer just enough to preclude not using rubber seals. In the pictures I am marking the empennage gap cover to allow for clearance for the rubber seals, the fiberglass cutout around the elevator horns, and the access hole covers. I also had to drill out all the rivets I had installed years ago and ream threads for screws into the underlying angle iron. The third picture below, shows the completed right and left empennage gap covers; the two access hole covers; and the trimmed rubber seals that go over the gap covers. I also dimpled all the screw holes to match nutplates installed earlier.