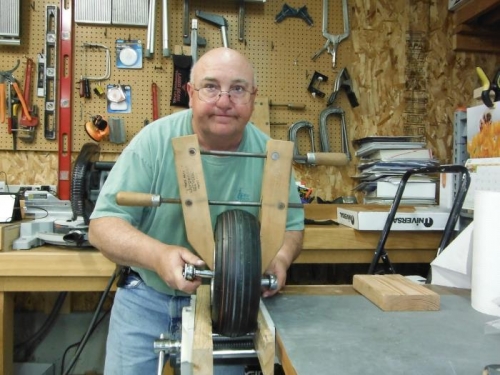
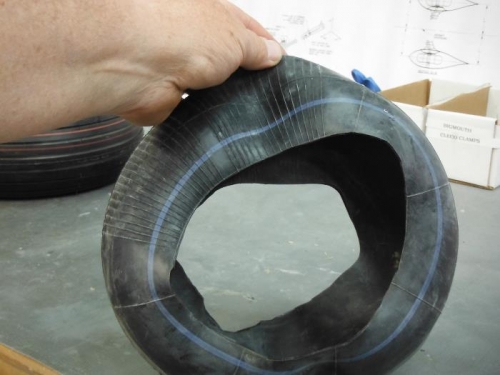
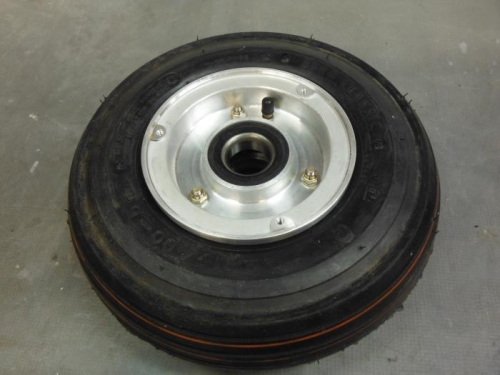
TThe Nose Wheel buildup was a different story from the mains…the process is the same but the rims are made by a different manufacturer. When I sorted out the parts for the buildup, I wondered why Van’s sent me two nosewheel innertubes. The reason for this became readily apparent as soon as I started to bolt the rim halves together; the inner tube got pinched and cut. There was a warning in the instructions, but it is very difficult to not pinch the inner tube. I was much more careful with the 2nd inner tube but no matter what I did the tube would start to seep into the rim inner flanges and get pinched. After 4 ½ hour of assembling and disassembling I finally got the idea to cut a 2” strip from the inside of the original ruined inner tube and I tucked this between the good tube and the rim halves. Then I very carefully squeezed the rims with a wood working clamp. I could just barely get a finger into the small space between the bearing races to make sure the inserted strip of inner tube didn’t get pinched between the rim halves. It still took me an hour to get the halves together. Just as the main wheels, I inflated to 25 lbs. and deflated 3x to make sure there were no wrinkles in the tube and the ‘extra’ strip wasn’t causing a wrinkle. The nose wheel is a 4.00 x 11 8 ply and Van’s recommends inflating to 70 lbs. to get the tire walls fully set on the rims. Final inflation is 30-35lbs.