
|

|
|
|
Mike & Aneta's RV Projects
|
Date: 9-7-2013
|
Number of Hours: 4.00
|
Manual Reference:
|
Brief Description: Pressure Testing 3 of 4 tanks
|
|
So I still have one more tank to build (the Left Main Tank). However, all these tanks sitting around the shop are taking up a lot of space. I decided to pressure test the first 3 tanks in order to install them and get them out of the way. Once they're on the wing, they will be stored in the wing stand instead of on the shop futon, where they've been for way to long. After borrowing some balloons from my neighbors, I began the pressure testing. I used the Vans test kit, which apparently doesn't come with a stinkin' ballloon. So, the balloon is there merely to prevent you from over-pressurizing the tank to the point of damaging it. The idea is that the balloon will pop before you get into trouble. Once the tank is pressurized, you cover the whole thing with soapy water film (the soapier the better). If small bubbles start to form around any rivets or fittings, you know you have a leak there. This is a really messy way to test the tanks, but very effective. Some people hook the tanks up to manometers, set the pressure to an exact amount and then leave them pressurized for several days to see if the pressure drops off. I chose to go the messy/simple route. I've used this method many times for looking for leaks in air mattresses, PVC, etc. It's effective as long as you know what to look for. Make sure the film is thick enough to make good bubbles and spray excessively, watching closely over each rivet and fitting as you go. The good news, all 3 tanks were LEAK FREE!
|
|
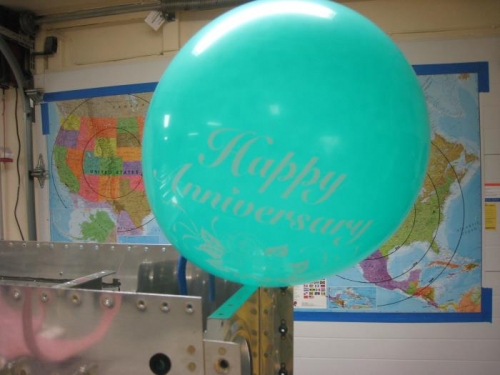
The only balloons my neighbors had..
|
|
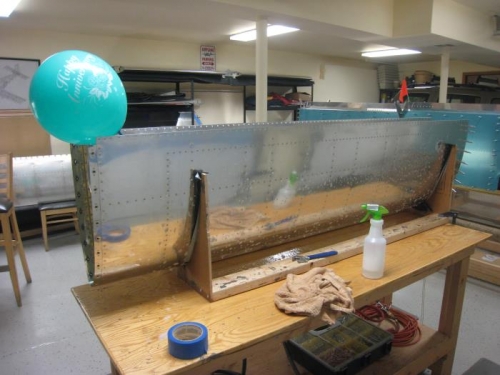
Messy work, but NO LEAKS!
|
|

Changed out the bigger Vans sump drains for flush ones.
|
|
|
|
|
|
|
|
|
Copyright © 2001-2024 Matronics. All Rights Reserved.
|