
|

|
|
|
Mike & Aneta's RV Projects
|
Date: 4-13-2014
|
Number of Hours: 6.00
|
Manual Reference: Static Ports
|
Brief Description: Installing Static Ports in the Tailcone
|
|
Today, I installed the static ports in the tailcone and began to plan the routing of the pitot/static lines. The ports were purchased from Saf-Air and are really top quality. Rather than install using rivets, I elected to use Proseal, which will not onl provide a strong structural bond, but also a watertight install. I made a slightly oversized, flexible rod out of some scrap 1/4" plywood to hold the two ports in place while the Proseal cures.
While I was inside the tailcone (very cramped quarters), I marked and drilled out some of the tailcone rivets, which I had not been able to affectively buck solo. When I replace them, I will do it with a partner. All other rivets inside were also QC'd at this time.
I also routed brightly-colored nylon string through my electrical wing conduits to the various points where I will need to pull wire later. Using a cotton ball and a vacuum, I was able to suck the string through the conduits to the various places in short order. I then tied a large washer to the ends of each piece of string, so that I know which one will pull wire to which place. This should make an easy job of wiring the wing, once all components are installed.
|
|
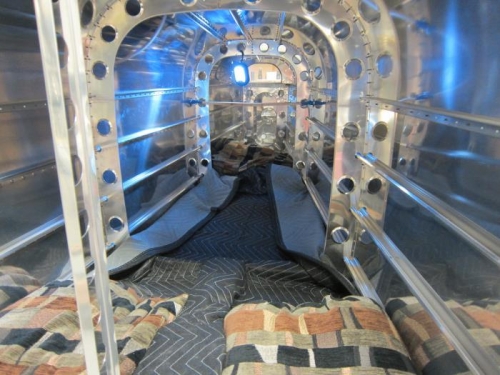
Inside the tailcone
|
|
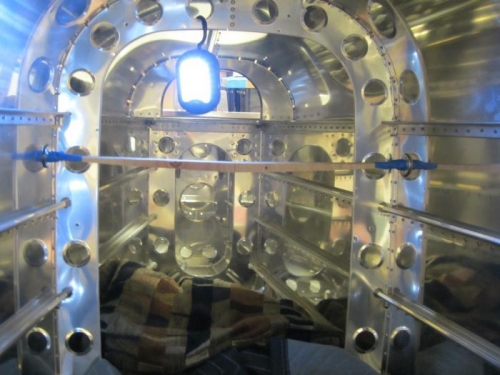
Closeup on static port support rod.
|
|
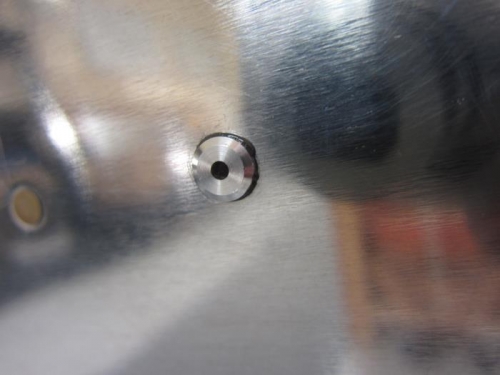
Proseal oozing out prior to cleanup.
|
|
|
|
|
|
|
|
|
Copyright © 2001-2024 Matronics. All Rights Reserved.
|