
|

|
|
|
Mike & Aneta's RV Projects
|
Date: 3-24-2013
|
Number of Hours: 6.00
|
Manual Reference: R Aux Tank
|
Brief Description: Dimple, Debur and begin ProSealing
|
|
Today, I took all the clean, scuffed parts and dimpled and checked that everything was deburred. Then I began the unsavory task of prosealing. My good friend Jeff Radtke had an extra Semco sealant gun, which he let me borrow. I've decided to use the Semkit proseal cartridges from Vans to seal my tanks. These are pre-proportioned containers of the two active ingredients that make up the black sticky stuff, which is used to seal all the Vans aricraft fuel tanks and also holds most commercial jets together. Most people that work with it hate it because it gets everywhere and sticks to everything. However, these people are not using semkits. Most measure out the two parts and mix them using a popsicle stick and paper plate on a kitchen scale. Then they apply it using everything from Q-tips to tongue depressers. Not exactly high-tech. I quickly found that using "what the pros use" is the best way to go. My calculations indicate it will cost slightly more to seal my tanks this way (Vans charges more for the semkits), but it will be quicker, less messy and I will be assured that the parts are properly proportioned, yielding a well-cured seal of my tanks. The speed at which I can apply the sealant using the pneumatic sealant gun is fantastic, which is good because the quicker you get it on, the smoother and better the seal will go down.
|
|
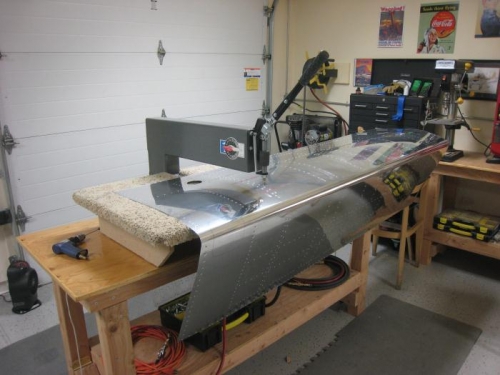
Dimpling the skin
|
|
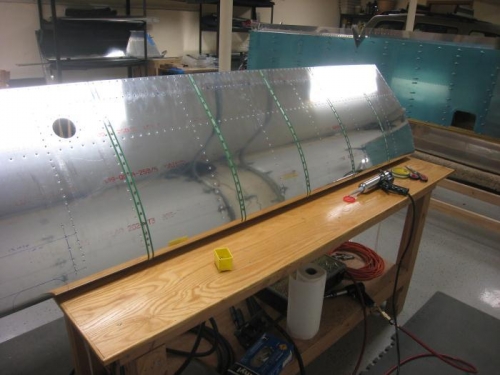
Prosealing the rivets in with the Semco sealant gun.
|
|
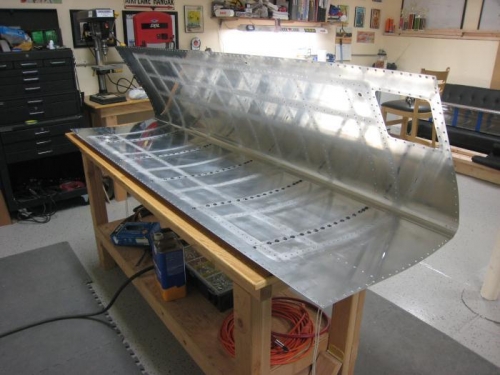
After back-riveting, the back side is also sealed.
|
|
|
|
|
|
|
|
|
Copyright © 2001-2025 Matronics. All Rights Reserved.
|