- I took 1/8" off the metal baffle, per my measurements last night. Then deburred the edges.
- Trimmed the aluminum strap that will hold the baffle seal, and drilled pilot holes every 1.5" or so.
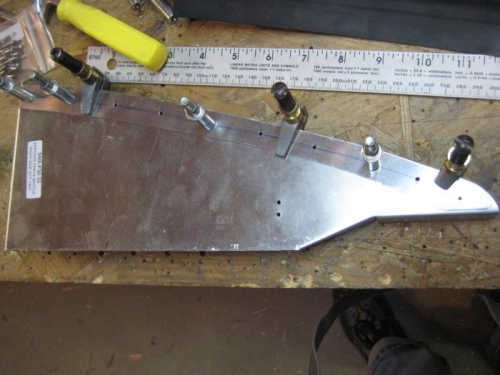
- Clamped the strap to the baffle and drilled the pilot holes through, using Clecos as I went (photo 1).
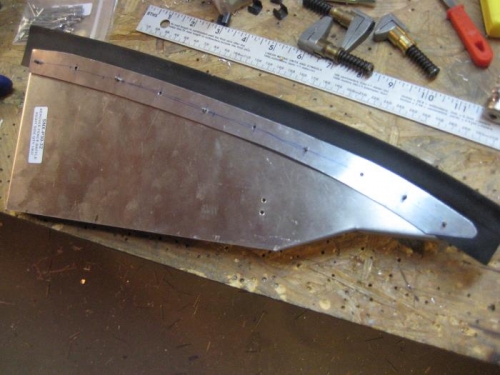
- Put the baffle seal in between the baffle and strap, and drilled through all 3. Cleco'd, then updrilled the whole assembly at once (photo 2).
- Took it apart and deburred everything.
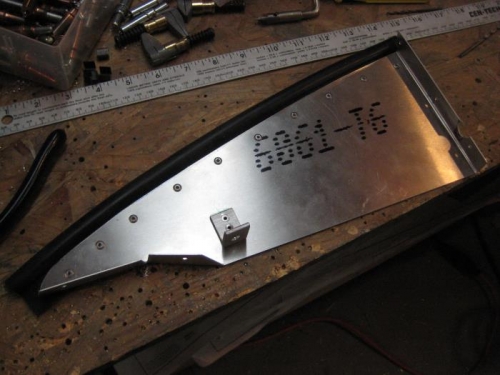
- Riveted the 3 pieces together.
- Also added one of the support angles (photo 3). I was able to mark the hole locations while the baffle was still on the engine. But the 2nd angle is under the intake manifold, and I have not found a way to get any kind of marking device in there to mark the hole locations.
Strap cut, pilot holes drilled through both pieces.
Added flexible baffle seal between, drilled through, and cleco'd.
The end result after riveting (minus 1 angle clip).