- Installed the magnetometer in the back of the aircraft.
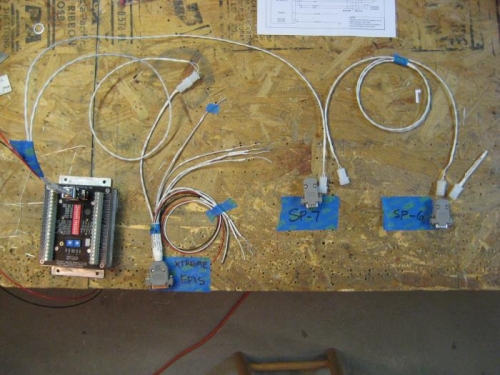
- Laid out the RDAC and wiring harnesses so I can visualize how it all goes together. MGL provides VERY little help for wiring. I have had to ask them for specific diagrams, and they answer my questions like I'm a seasoned electronics technician, which of course I am not. See photo 1.
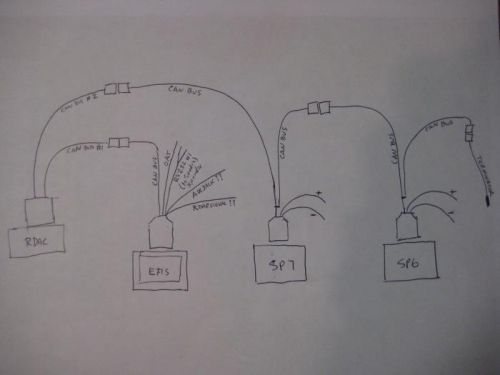
- Photo 2 is a basic diagram of what's on my table on the left. I need to make harnesses for the SP7 and SP6, so I needed to visualize what the wiring woudl look like.
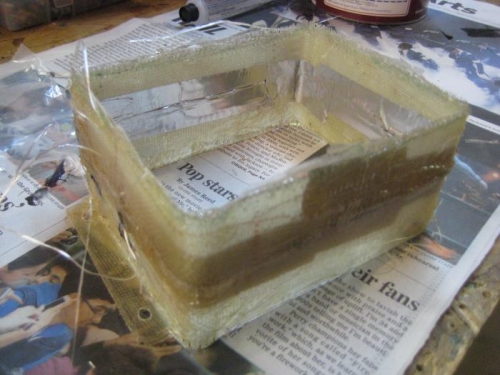
- In photo 3 two sections of fiberglass are stacked and fiberglassed together. This will be the water tight cover for the RDAC. Next will be to close in the top and make holes for the wiring. It's not going to be waterproof, but it should keep moisture off that might come through the cowl.
Laying out the parts, with tape as a stand-in for the SP6 and SP7.
Diagram to figure wiring for SP7 and SP6.
Two sections of fiberglass stacked and fiberglassed together.