Brief Description: Begin panel switch installation
Began installing the switches in the instrument panel faces.
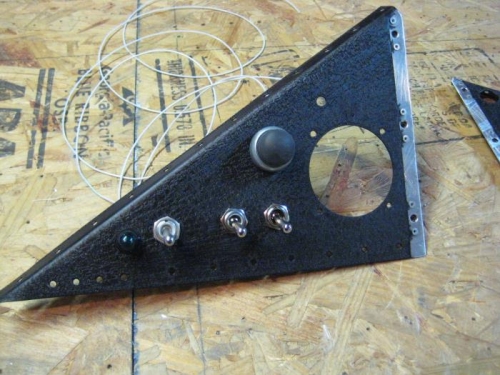
- Photo 1 has the green light to show the smoke is on, then the smoke toggle switch, the master switch, and the mags switch (inverted because mags ON = switch OPEN). Above that is the push to start button.
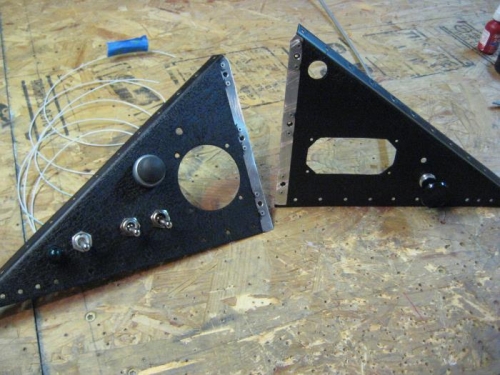
- Photo 2 shows the right side panle as well, with the cabin heat knob installed.
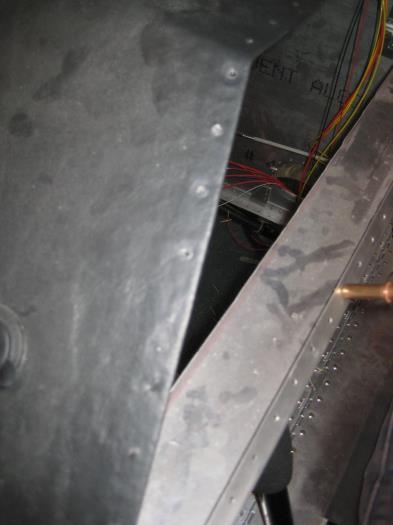
- Photo 3 shows (poorly) where I punched holes in the glare shield fabric for the rivets that will secure the panel faces.
The crinkle paint on these pieces came out OK. On the center piece it was awful so I used paint stripper to remove it so I can start over.
Left panel with smoke light, smoke switch, master, mags & starter.
Right side with cabin heat knob installed.
View down on fabric of glare shield. Punched rivet holes through fabric.