There was just no way to make the front bulges of the right and left cowl halves meet one another, so...
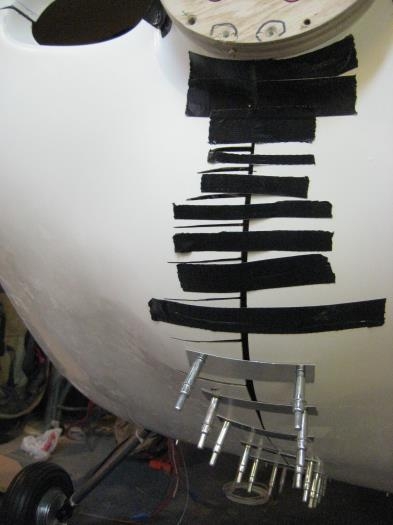
- In photo 1 you can sort of see the horizontal cuts I had to make in the front face of the right cowl (left side of photo). The black duct tape is just to temporarily connect the flaps of cut materials with the other cowl half.
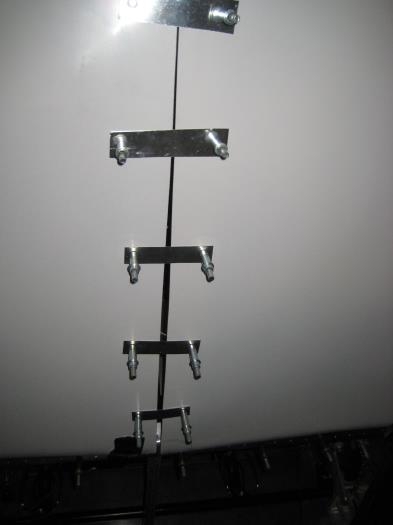
- At the rest of the lower cowl I used duct tape to pull the halves together and hold them in place, Then I attached .025 aluminum straps to each side of the cowl split, with clecos.
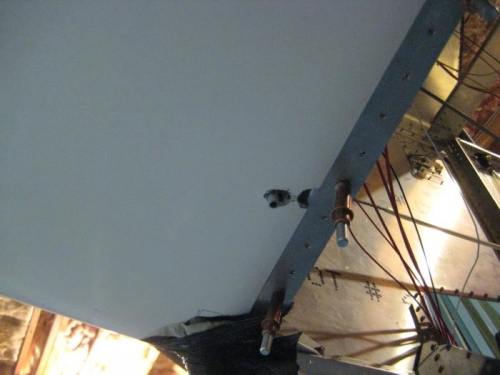
- With the cowl pulled tight I saw that the fuel overflow outlet was going to fall in a different location through the cowl. In photo 3 you can see the old cutout to the right, and the new one, with the vent poking through, to the left.
So now I need to start glassing things. But I'm going to have limited access to the inside of the cowl like this, so I may have to do some glassing on the outside just to hold things together before removing the cowl and glassing the inside.
Keith Macht suggested I do NOT join the top two halves until AFTER I fit the engine baffles. That way I can see directly into each side of the engine baffles.
Horizontal cuts, duct tape and aluminum straps.
Aluminum straps
Underside of cowl with old and new fuel overflow outlet