
|

|
|
|
Michaels Web Site
|
Date: 3-21-2013
|
Number of Hours: 2.50
|
Manual Reference:
|
Brief Description: Continue left cowl
|
|
- Cut the two cowl pieces as required for the hinge pins to rest
- Cut a hinge half for the upper cowl and installed it (photo 1).
- Installed the cowl hinge-half with a pin, attached to the fuselage hinge half. Then put the lower cowl on and duct taped it in place.
- Used the bright-light-behind-the cowl trick again to locate the holes on the outside of the cowl. BUT NO MATTER HOW CLOSE I GOT THE LIGHT TO THE HINGE HOLES, the STILL didn't align! See photo 2. See the two cleco'd holes? The hole to the right is the predrilled pilot hole that I was shining the light through. The holes with the clecos in them are where the drill bit actually came through, off center!
- With 3 holes drilled and clecos in place, After removing the hinge pin I removed the lower cowl with the hinge half still attached.
- On the work bench, used the pilot holes to drill through the cowl, then went back and updrilled.
- Removed the hinge, deburred the holes, then cleco'd and riveted the hinge in place.
Photo 3 shows the end result. I still have to install the horizontal hinge half at the lower cowl.
|
|
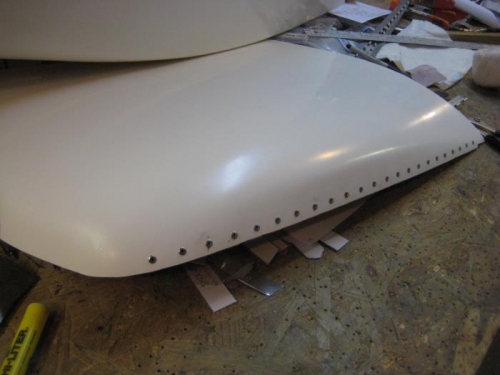
Upper left cowl with hinge attached.
|
|
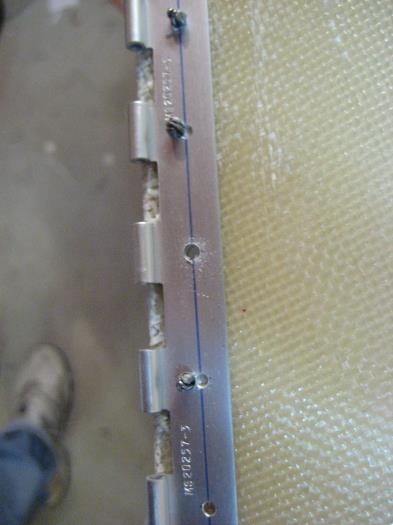
Back-light method is STILL hard to get the holes in the right spot!
|
|
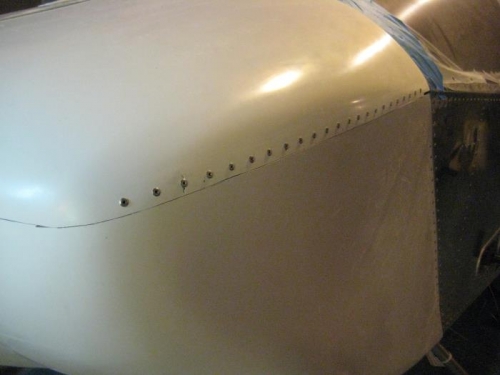
No lower cowl horizontal hinge, yet, but otherwise it's lookin pretty good w/ only 1 hinge-half to go
|
|
|
|
|
|
|
|
|
Copyright © 2001-2024 Matronics. All Rights Reserved.
|