
|

|
|
|
Michaels Web Site
|
Date: 11-5-2012
|
Number of Hours: 3.50
|
Manual Reference: AeroVee
|
Brief Description: Push rods & rockers
|
|
After all the cutting of the head studs, I still had interference. But it was tricky to try to get the Dremel into increasingly tight spots to cut off just another 1/8" or so; the Dremel kept deflecting off the top of the studs. So I resorted to a couple of files, and just worke them down until they cleared (photo 1).
In photo 2 the pushrod measuring tool, supplied by Sonex, is at the right, in the pushrod tube.
In photo 3 I'm cutting the rod with a plumbing tubing cutter.
==============
Note: the tips that go into the pushrods, even with some heat applied as Sonex suggests, are impossible to fit inside the tubes. They i.d. of the tubes is WAY too narrow. I had to use my drill with a bit just a little smaller than the i.d., and wiggle it around inside, and up and down QUITE A BIT. to enlarge the inside enough to accept the tip. Some filing and sanding cleaned it up. Even then, I had to apply heat with a torch to get it to fall in place.
Make sure you blow out ALL the dust left from these processes. Anything left inside the tube will wind up in your oil and then your engine.
|
|
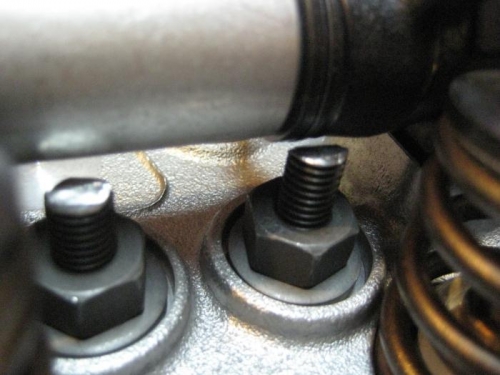
Studs cut down and filed to clear the rocker assembly.
|
|
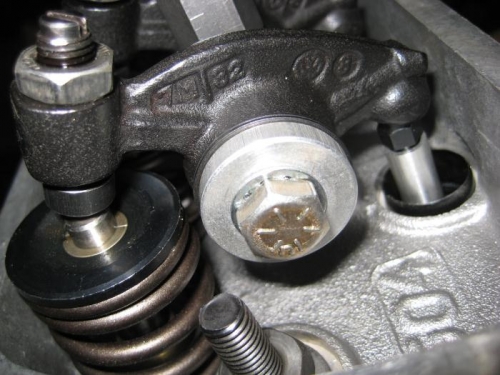
On the right, the push rod measuring tool provided by Sonex.
|
|
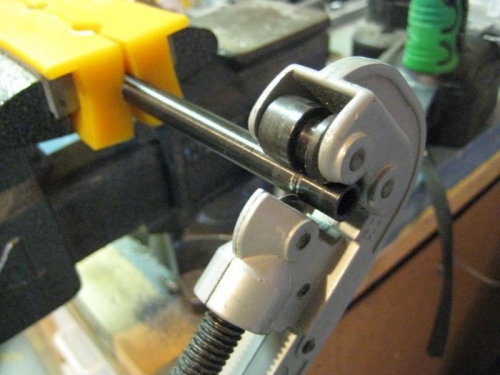
After measuring and marking the first 4 pushrods, I cut with a plumbing pipe cutter.
|
|
|
|
|
|
|
|
|
Copyright © 2001-2024 Matronics. All Rights Reserved.
|